How to run EvTrack on SQL Server 2022 instead of MariaDB, for a new installation: create the database with the right collation, create a login for EvTrack, point EvTrack at it and start it. EvTrack creates all its tables itself on the first start.
Before you start:
- SQL Server 2022, Standard or Enterprise edition, reachable from the EvTrack server on TCP port 1433.
- Rights to create databases and logins on that SQL Server (the sysadmin role).
- A TLS certificate on the SQL Server that the EvTrack server trusts: issued by your own certificate authority or a public one, with the server name in the certificate matching the host name you connect to. The connection in Step 4 is encrypted. If the certificate is self-signed, or issued by an authority the EvTrack server does not already trust, import it into the Java trust store first (see “Trust a self-signed certificate” below), otherwise EvTrack cannot connect. Do not switch the encryption off, and do not tell EvTrack to trust any certificate, on a production server.
- The EvTrack release files and your licence key, as described in Windows Server Installation. This page replaces the MariaDB parts of that page (installing MariaDB and its database in Steps 1 and 2).
Overview
- Check the prerequisites above
- Create the database with the required collation and row versioning, and trust the SQL Server certificate if needed
- Create a login and database user for EvTrack
- Enter the connection settings in
application.propertiesand give the service the master password - Start EvTrack
- Check the EvTrack log for database warnings
Step 1: Check the prerequisites
Confirm the SQL Server version and edition in SQL Server Management Studio (SSMS), or in a sqlcmd session:
SELECT @@VERSION;
It must report Microsoft SQL Server 2022, Standard or Enterprise edition.
Step 2: Create the database
Connect to the SQL Server as a sysadmin in SSMS (a new query window) or with sqlcmd, and run:
CREATE DATABASE evtrack COLLATE Latin1_General_100_CI_AS_SC_UTF8;
GO
ALTER DATABASE evtrack SET READ_COMMITTED_SNAPSHOT ON WITH ROLLBACK IMMEDIATE;
GO
- The collation
Latin1_General_100_CI_AS_SC_UTF8makes text matching case-insensitive, so a username, an email address or a number plate matches in any case, and it stores any text in UTF-8. It can only be set when the database is created: do not create the database with the server default collation and plan to change it later. READ_COMMITTED_SNAPSHOT ONlets a page that only reads data show the last saved version of a row instead of waiting for another user’s save to finish.WITH ROLLBACK IMMEDIATEmakes the statement run at once on a database nobody is using yet.
Leave the database empty.
Trust a self-signed certificate
Skip this if the SQL Server certificate comes from an authority the EvTrack server already trusts. Otherwise:
- On the SQL Server, export the certificate it uses for connections (the one selected in SQL Server Configuration Manager, under SQL Server Network Configuration > Protocols for MSSQLSERVER > Properties > Certificate) from the Windows certificate store, without the private key, as a DER-encoded
.cerfile. The certificate must name the host name you connect to: the certificate SQL Server makes for itself when none is configured does not, and cannot be used. - Copy the
.cerfile to the EvTrack server, for example toC:\EvTrackWeb\sqlserver.cer. - Open a Command Prompt as administrator on the EvTrack server and import it into the trust store of the Java that runs EvTrack:
keytool -importcert -cacerts -alias evtrack-sqlserver -file C:\EvTrackWeb\sqlserver.cer
keytool is in the same folder as java. It asks for the trust store password (changeit unless someone changed it) and asks you to confirm the certificate: check the name and the fingerprint, then answer yes.
A Java upgrade replaces this trust store: repeat step 3 after every Java upgrade on the EvTrack server.
Step 3: Create a login and database user for EvTrack
EvTrack connects with its own account. Replace <choose-a-strong-password> with a password of your own that meets your SQL Server password policy, and keep it for Step 4. Leave out quotes (' and ") and the percent sign (%): they need escaping in this statement and in the Command Prompt.
CREATE LOGIN evtrack WITH PASSWORD = '<choose-a-strong-password>', DEFAULT_DATABASE = evtrack;
GO
USE evtrack;
GO
CREATE USER evtrack FOR LOGIN evtrack;
GO
ALTER ROLE db_owner ADD MEMBER evtrack;
GO
The account needs db_owner on the evtrack database because EvTrack creates and upgrades its own tables. It needs no rights on any other database.
Step 4: Enter the connection settings
- On the EvTrack server open
application.propertiesin the EvTrack folder (for exampleC:\EvTrackWeb) with Notepad++, as in Windows Server Installation. - The file names the MySQL settings for three keys. On SQL Server, EvTrack works these out from the database address itself, so comment out each of these lines by putting
#at the start (or delete the text after the=):
#hibernate.dialect=org.hibernate.dialect.MySQLDialect
#spring.datasource.driver-class-name=com.mysql.cj.jdbc.Driver
#spring.liquibase.change-log=classpath:db/liquibase-changelog.xml
The first two are under Database Configuration, the third under Liquibase Configuration. If one of them still names MySQL, EvTrack does not start and the log names the key, with the message Blank or comment out <key> in application.properties.
- Set the database address, replacing
<host>with the SQL Server host name as it appears in its certificate:
spring.datasource.url=jdbc:sqlserver://<host>:1433;databaseName=evtrack;encrypt=true
spring.datasource.username=evtrack
- Encrypt the password so it is not stored as plain text. Open a Command Prompt in the EvTrack folder, set a master password of your own (no spaces around the
=), and run the encryption script that comes with the EvTrack release files:
cd C:\EvTrackWeb
set EVT_JASYPT_PASSWORD=<your-master-password>
evtrack-encrypt-property.bat "<the password from Step 3>"
The script prints a value that looks like ENC(...). Put the whole value on the password line:
spring.datasource.password=ENC(...)
Keep the master password safe: without it nobody can read the encrypted value, and a new one means encrypting the password again.
- Give the EvTrack service the same master password, otherwise it cannot read the password and does not start. Choose one of:
- In the service file: open
evtrack-service.xmlin the EvTrack folder. It has a commented example line,<env name="EVT_JASYPT_PASSWORD" value="your-master-password"/>: copy it out of the comment, next to theMYAPP_HOMEline, and put your master password invalue. The service picks it up when it is next started. The master password is then stored next to the encrypted value, so allow only administrators to read the EvTrack folder. - As a System environment variable: in System Properties > Environment Variables > System variables, add
EVT_JASYPT_PASSWORDwith your master password, then restart the server (a Windows service sees a new System variable only after a restart). Any program on the server can then read it.
- In the service file: open
If you prefer, you can write the plain password on the password line instead and skip 4 and 5; the encrypted form is recommended for a production server.
- Save the file. In the properties file the address, username and password lines may be written in the form
spring.datasource.url=${SPRING_DATASOURCE_URL:jdbc:...}: either keep that form and change only the text after the colon, or replace the whole line as shown above.
Step 5: Start EvTrack
Start the EvTrack service as in Windows Server Installation. On the first start EvTrack creates all its tables, which takes a few minutes. When it is ready, open http://localhost:5443 on the server:
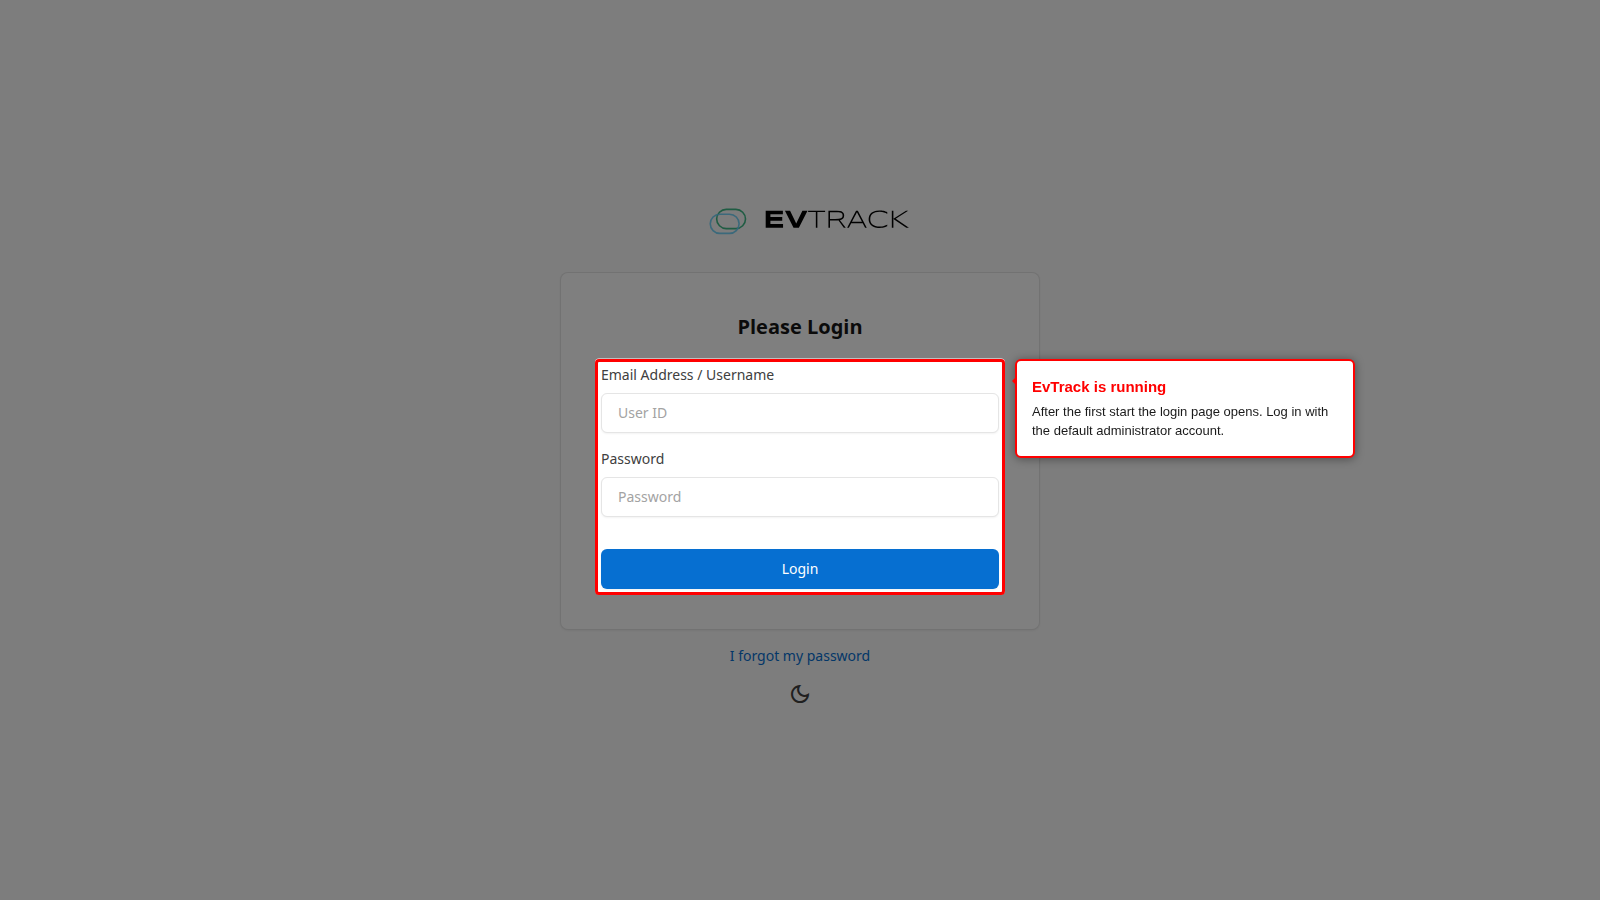
Log in with the default administrator account (username admin, password password), change that password straight away and enter your licence, as described in that page.
Step 6: Check the log for database warnings
The EvTrack log is in the EvTrack folder (for example C:\EvTrackWeb): open the newest file whose name starts with evtrack-service and ends in .out.log in Notepad++.
Once EvTrack is ready it checks the two database settings from Step 2 and writes a warning to that log for each one that is not as required. There must be none. The warnings read:
SQL Server database collation is <what the database has>, expected Latin1_General_100_CI_AS_SC_UTF8: lookups and stored text may differ from the supported setup. Create the database with COLLATE Latin1_General_100_CI_AS_SC_UTF8SQL Server READ_COMMITTED_SNAPSHOT is OFF: readers block on writers' locks. Run ALTER DATABASE <name> SET READ_COMMITTED_SNAPSHOT ONSQL Server database settings could not be checked: <reason>means the check itself could not run, for example because the EvTrack account cannot read the database settings. Fix the cause and restart EvTrack.
The collation cannot be changed on a database that already holds EvTrack data: if you see the collation warning, stop EvTrack, drop the empty database, repeat Step 2 and start EvTrack again. For the snapshot warning, run the statement shown in the warning and restart EvTrack.
If EvTrack does not start or cannot connect, see Troubleshooting.
Next steps
- Before going live, run through the SQL Server go-live dry-run checklist with your EvTrack supplier.
- Windows Firewall, HTTPS Configuration and the rest of the Onsite Deployment pages apply unchanged.