The Verification panel of the kiosk settings decides how a visitor proves who they are or how to reach them at the FrontDesk kiosk: a one-time code sent to their email or phone, a PIN, a QR code, a scan of their ID or passport, whether the document must match the pre-registration, and whether the kiosk shows the visitor their own pass at the end. The settings apply to every kiosk.
Before you start:
- You can edit visitor settings.
- For one-time codes by SMS, an SMS gateway is configured and you accept the per-message cost.
Step 1: Open Verification
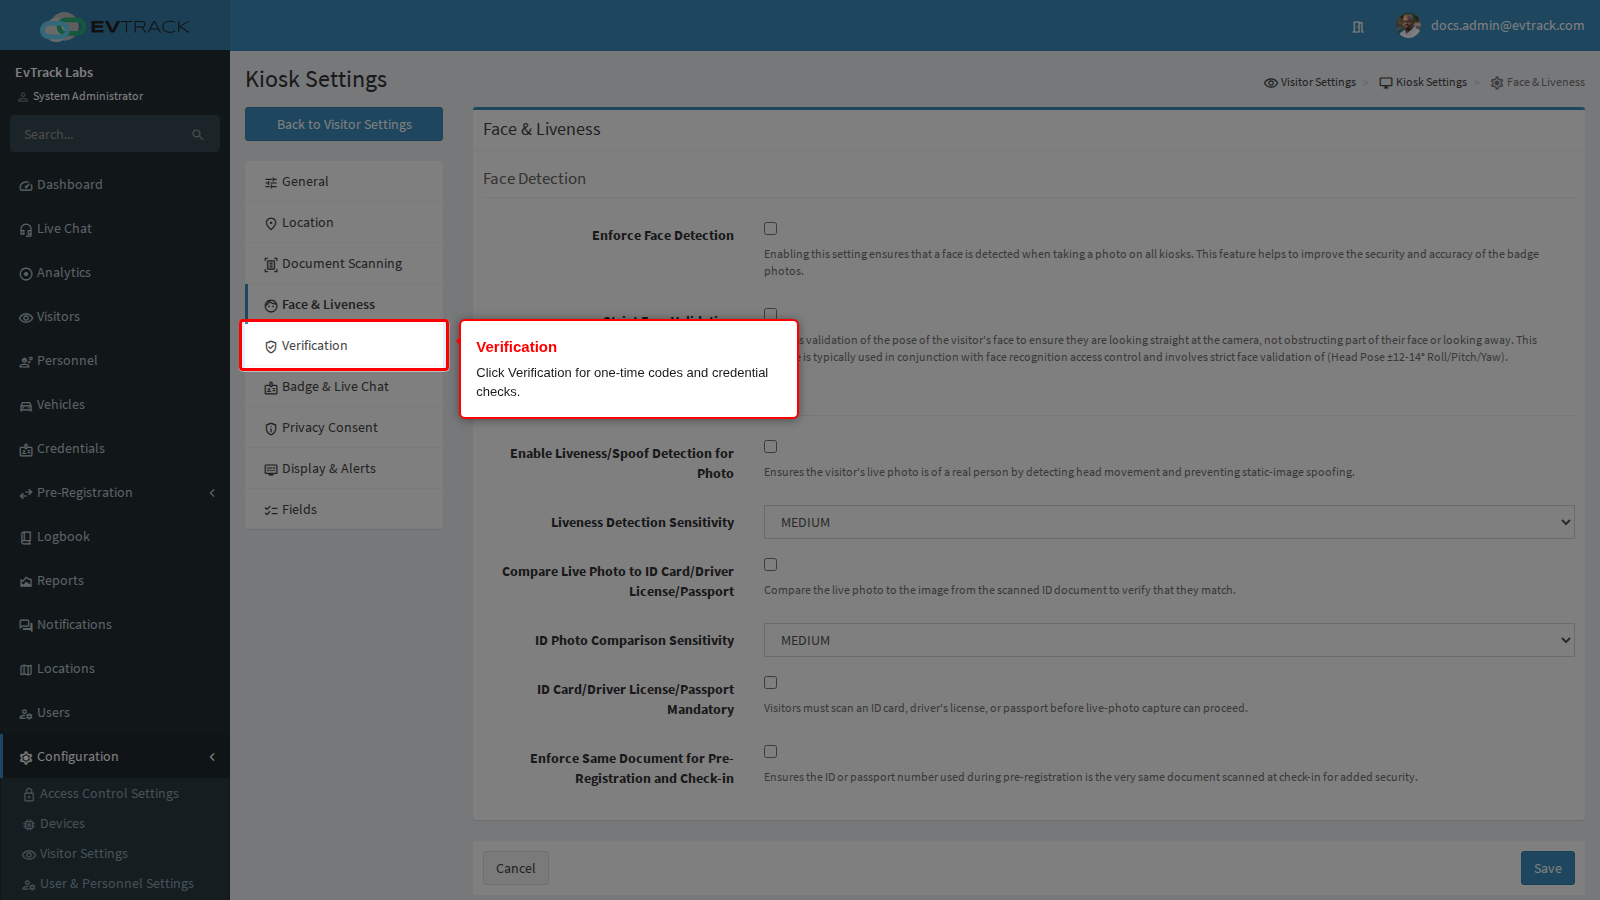
Go to Configuration > Visitor Settings, click the Kiosk tile (the Kiosk Settings page gives the overview), and choose Verification in the kiosk menu on the left.
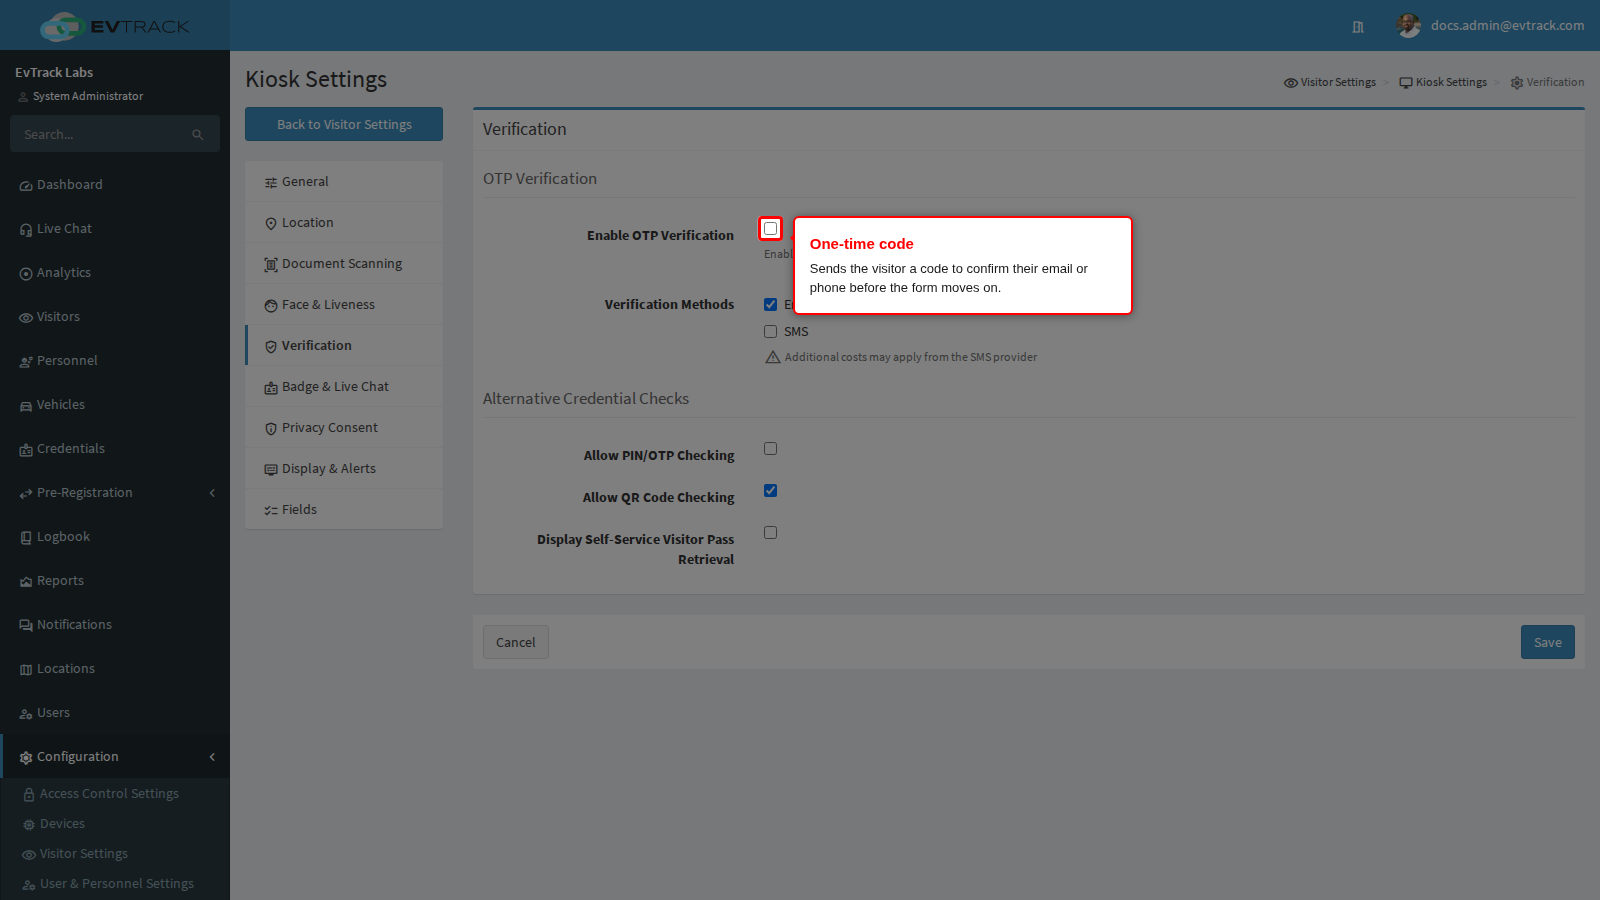
Enable OTP Verification
Off by default. With it on, the kiosk checks that the contact details a visitor types are really theirs. When the visitor taps Next on the Email or Mobile Number question of the registration form, the kiosk sends a six-digit code to that address or number, and the visitor must key the code in before the form moves on. A code is asked for again only when the visitor changes the value. It matters most for walk-ins nobody invited, because it proves they can be reached on the details they gave.
Two cases are not verified: a question the visitor left blank, and an Email question that is marked Optional on the Fields panel.
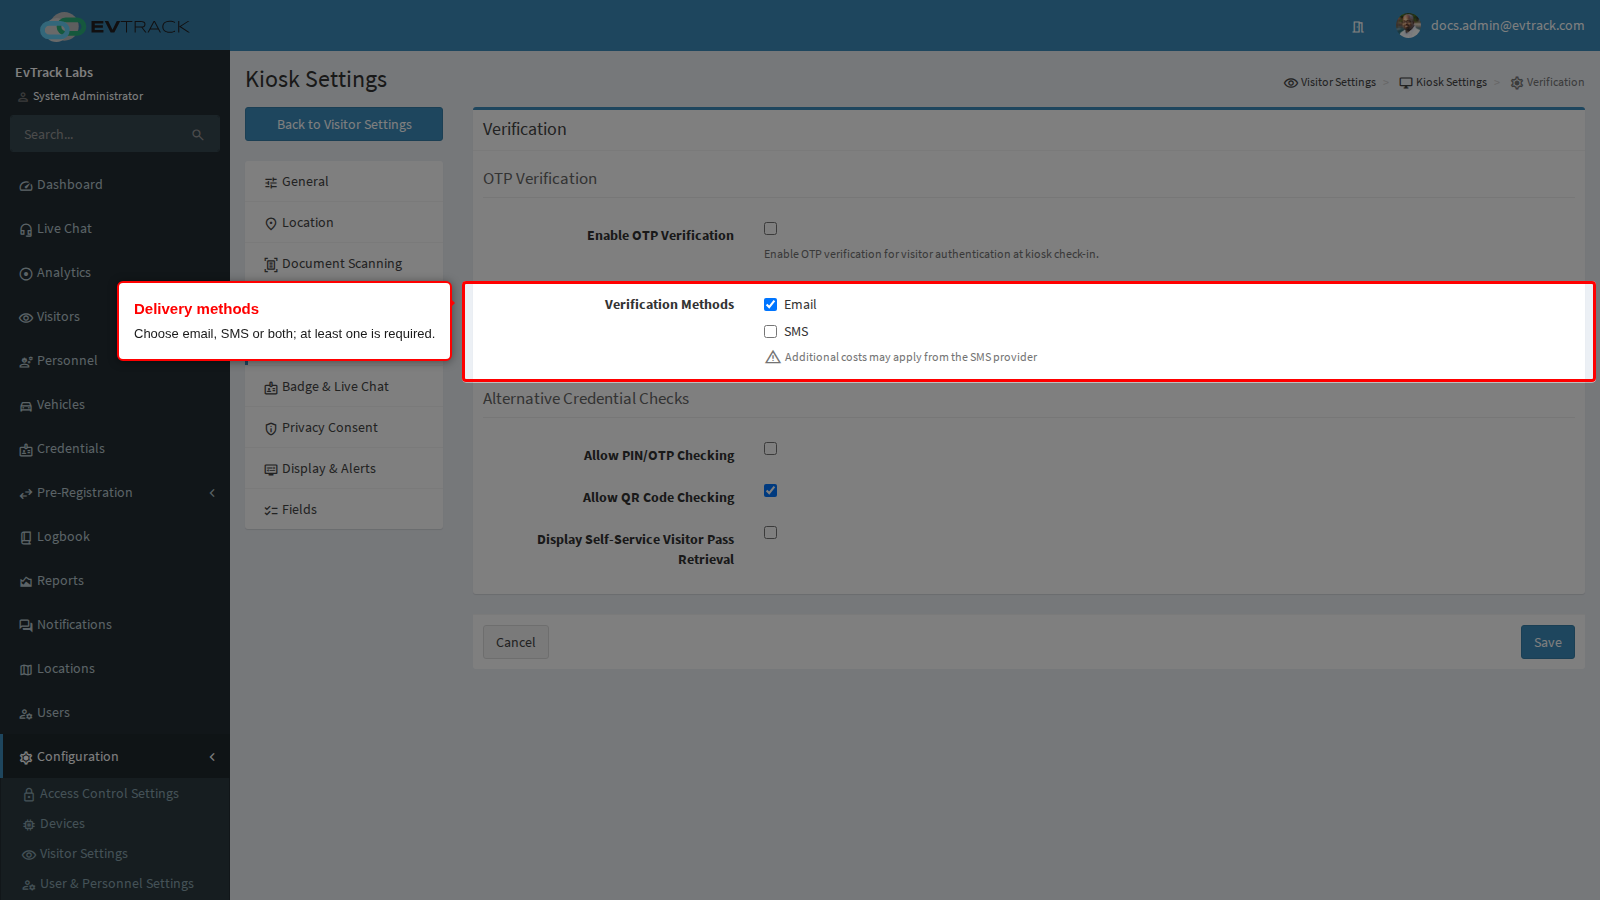
Verification Methods
Email is on by default and SMS is off by default. At least one must be ticked, or Save is refused with “At least one OTP verification method must be selected”. Email is free and needs an email address on the registration form. SMS reaches people who gave only a mobile number, and the panel warns that additional costs may apply from the SMS provider.
Each method is tied to a question on the registration form:
- Email verifies the Email question, and SMS verifies the Mobile Number question.
- A method can be ticked only while its question is enabled on the Fields panel (Fields and Required Fields). Otherwise Save is refused with “Email field must be enabled on the Fields page when Email OTP is selected”, or the matching message for Mobile Number.
- While OTP verification is on, the Fields panel refuses to save with that question switched off. It shows only the general message “Something is wrong. Please check your input and try again.” and nothing is saved. Switch the question back on, or turn off that method on this panel first.
- On a location’s own field list, the Email or Mobile Number row is locked on, with the note “Locked rows remain enabled because OTP verification on the global kiosk Verification page uses them”.
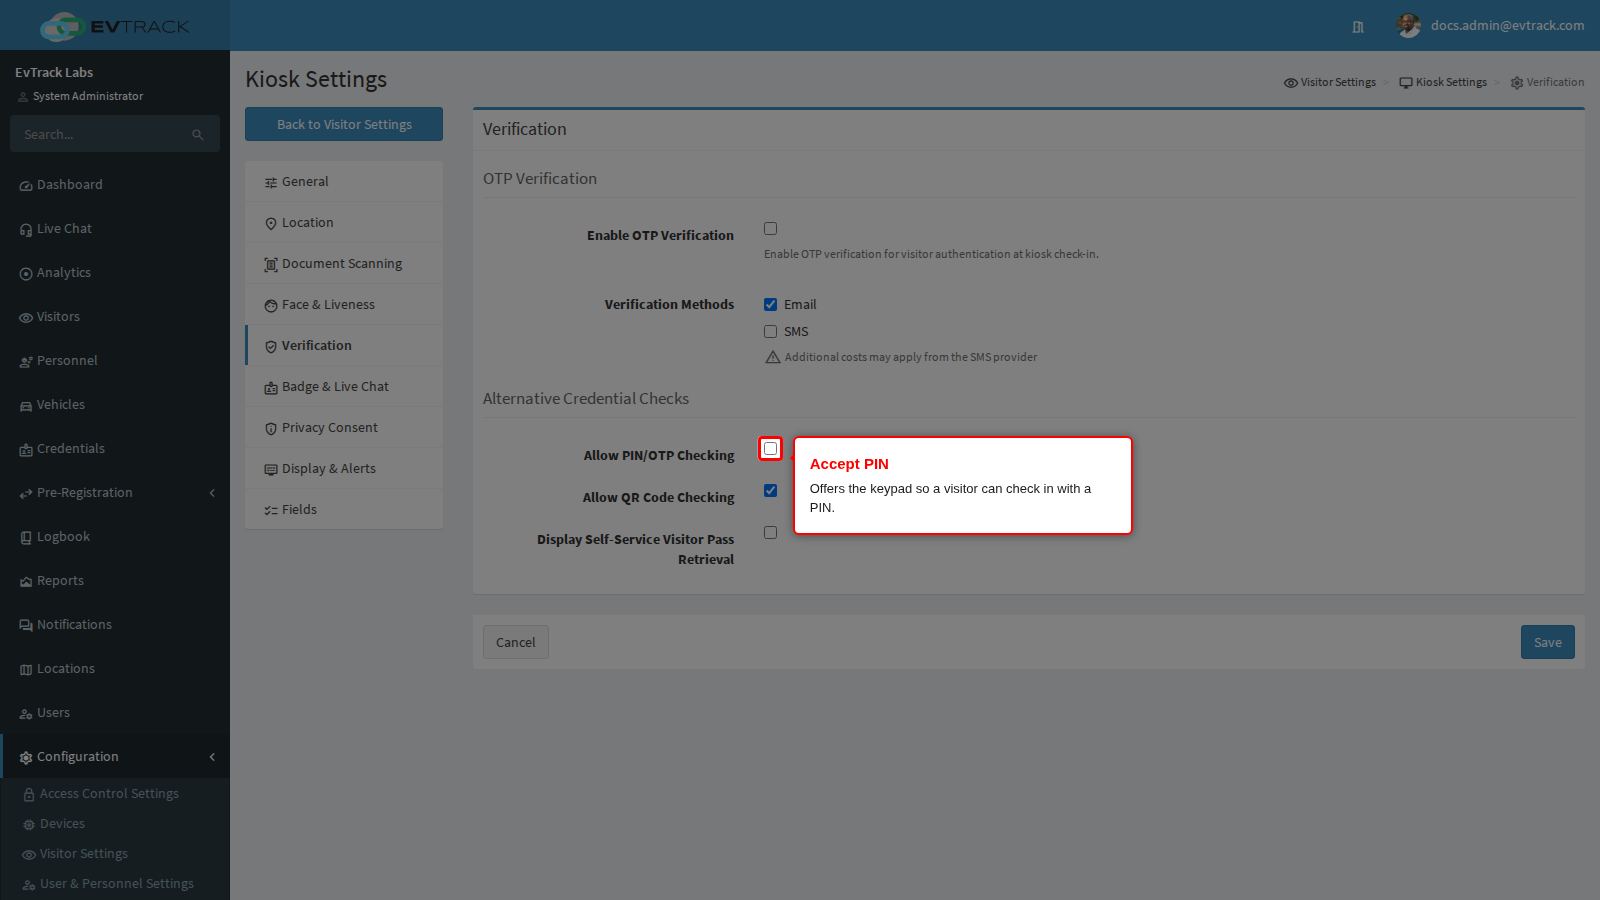
Allow PIN/OTP Checking
Off by default. It adds an OTP tile to the kiosk’s choice of ways to identify, which opens a keypad so a visitor who was sent a PIN with their invitation can key it in. It is not the same thing as Enable OTP Verification above: this PIN identifies an invited visitor, while the verification code only confirms a contact detail. The keypad has as many digits as the default PIN length set for invitations, or six when no length is set.
A site can offer a PIN and nothing else. When document scanning and QR codes are both off and this is on, the kiosk goes straight to the PIN keypad.
Allow QR Code Checking
On by default. It adds a QR Code tile, which opens the camera so a visitor with a pass can hold up their code. The kiosk also offers QR code check-in when the Direction Requiring Visitor Registration with Visitor PIN / QR / ID Card setting on the General panel is IN or BOTH, whatever this switch says, because a QR code is how those visitors reach the form.
Between them the PIN and QR code settings decide what an invited visitor is able to present. Turning both off leaves only document scanning and manual registration.
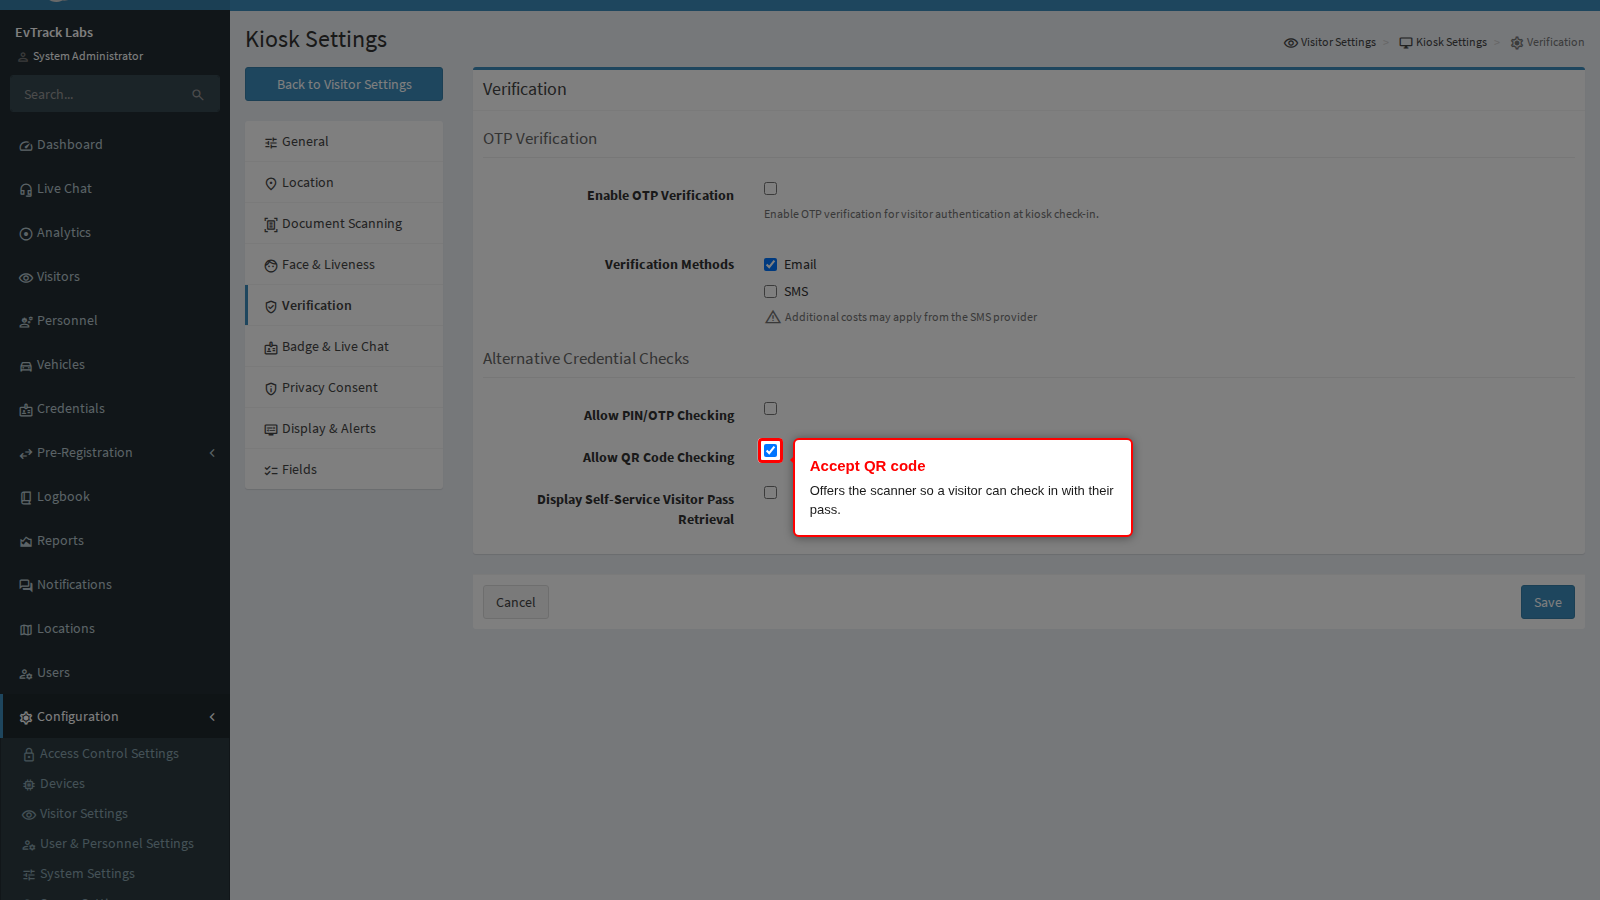
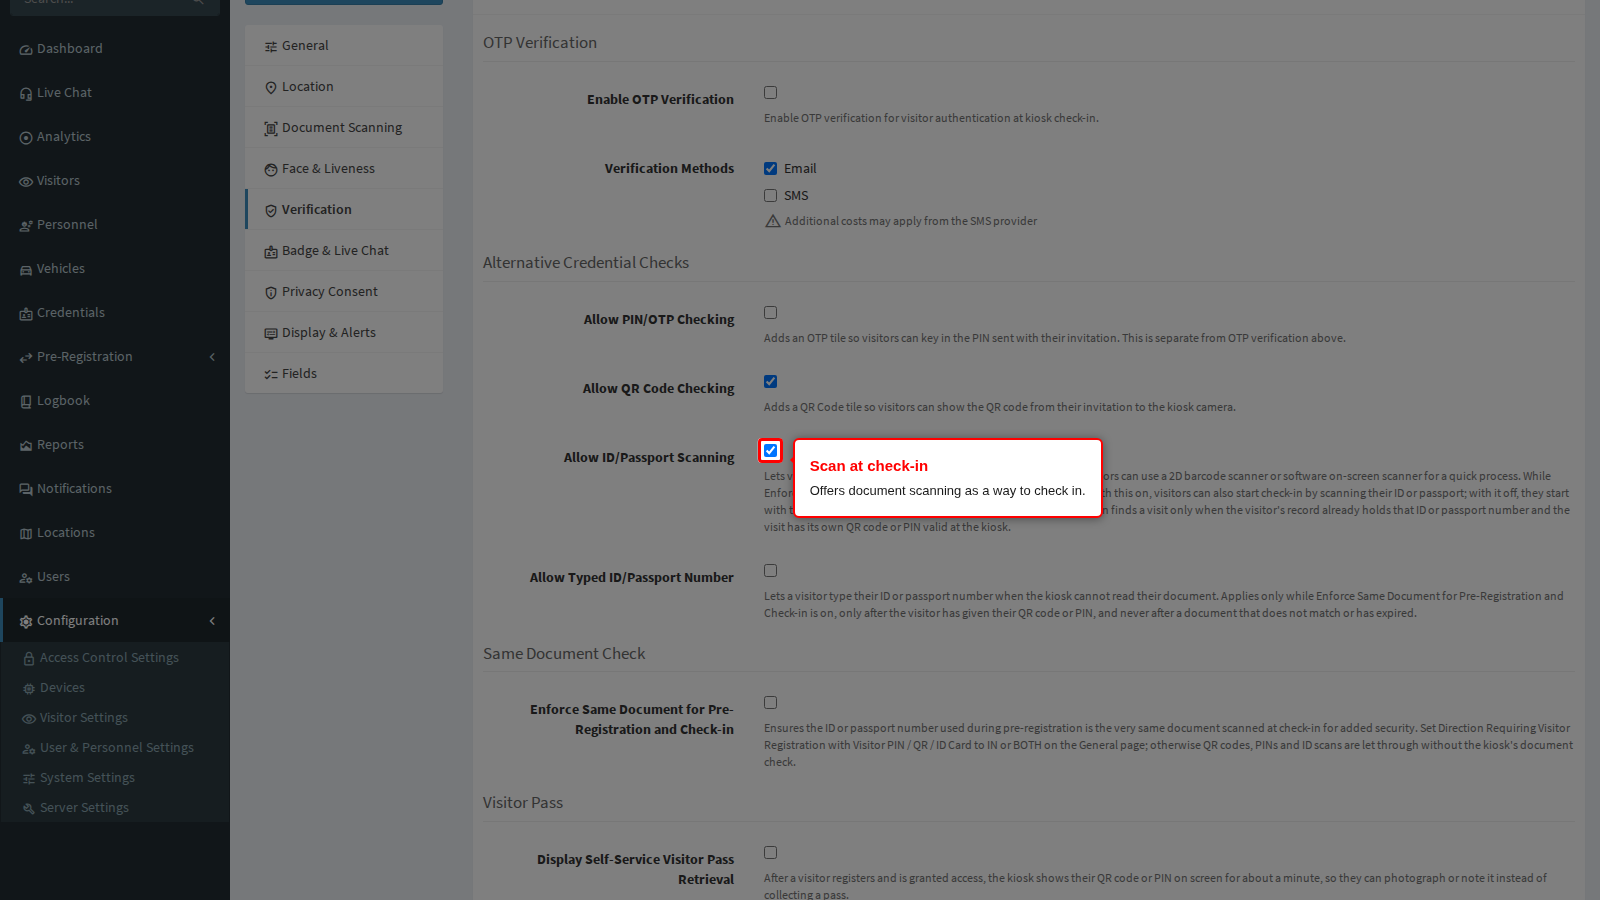
Allow ID/Passport Scanning
On by default. With it on, a visitor who touches the check-in or check-out button on the welcome screen first sees a choice of ways to identify themselves: the ID Card or Passport tile, a QR Code tile and an OTP tile for a PIN. The QR Code and OTP tiles follow their own settings above. A visitor who arrives with a QR code or PIN but has not yet scanned a document is offered the same choice before the registration form.
With it off, the kiosk skips the choice. It goes straight to the QR code screen, or to the PIN screen when only the PIN is on, or to the registration form.
The choice also needs Enable OCR Support (Passport/MRZ) on the Document Scanning panel, or a 2D barcode scanner attached to the kiosk. With neither, the kiosk skips the choice even when this switch is on. The other reading options are on that panel, see Document Scanning.
While Enforce Same Document for Pre-Registration and Check-in (below) is on, this switch picks how a pre-registered visitor starts check-in:
- On: the visitor can start by scanning their ID or passport, next to the QR Code and OTP tiles. The kiosk looks up the visit from the scanned number, then checks the scanned document against the visit. If no visit is found, the kiosk tells the visitor to use their QR code or PIN instead. A scan finds a visit only when the visitor’s record already holds that ID or passport number, from the pre-registration or an earlier visit, and the visit has its own QR code or PIN that is valid at the kiosk.
- Off: the visitor starts with their QR code or PIN, and must then scan their document before the registration form.
It cannot be turned off while ID Card/Driver License/Passport Mandatory is on (Face and Liveness panel): the save is refused with “Allow ID/Passport Scanning must be on while ID Card/Driver License/Passport Mandatory is on (Face & Liveness page). Without scanning, the kiosk cannot offer the document scan that Mandatory requires.” Turn Mandatory off first.
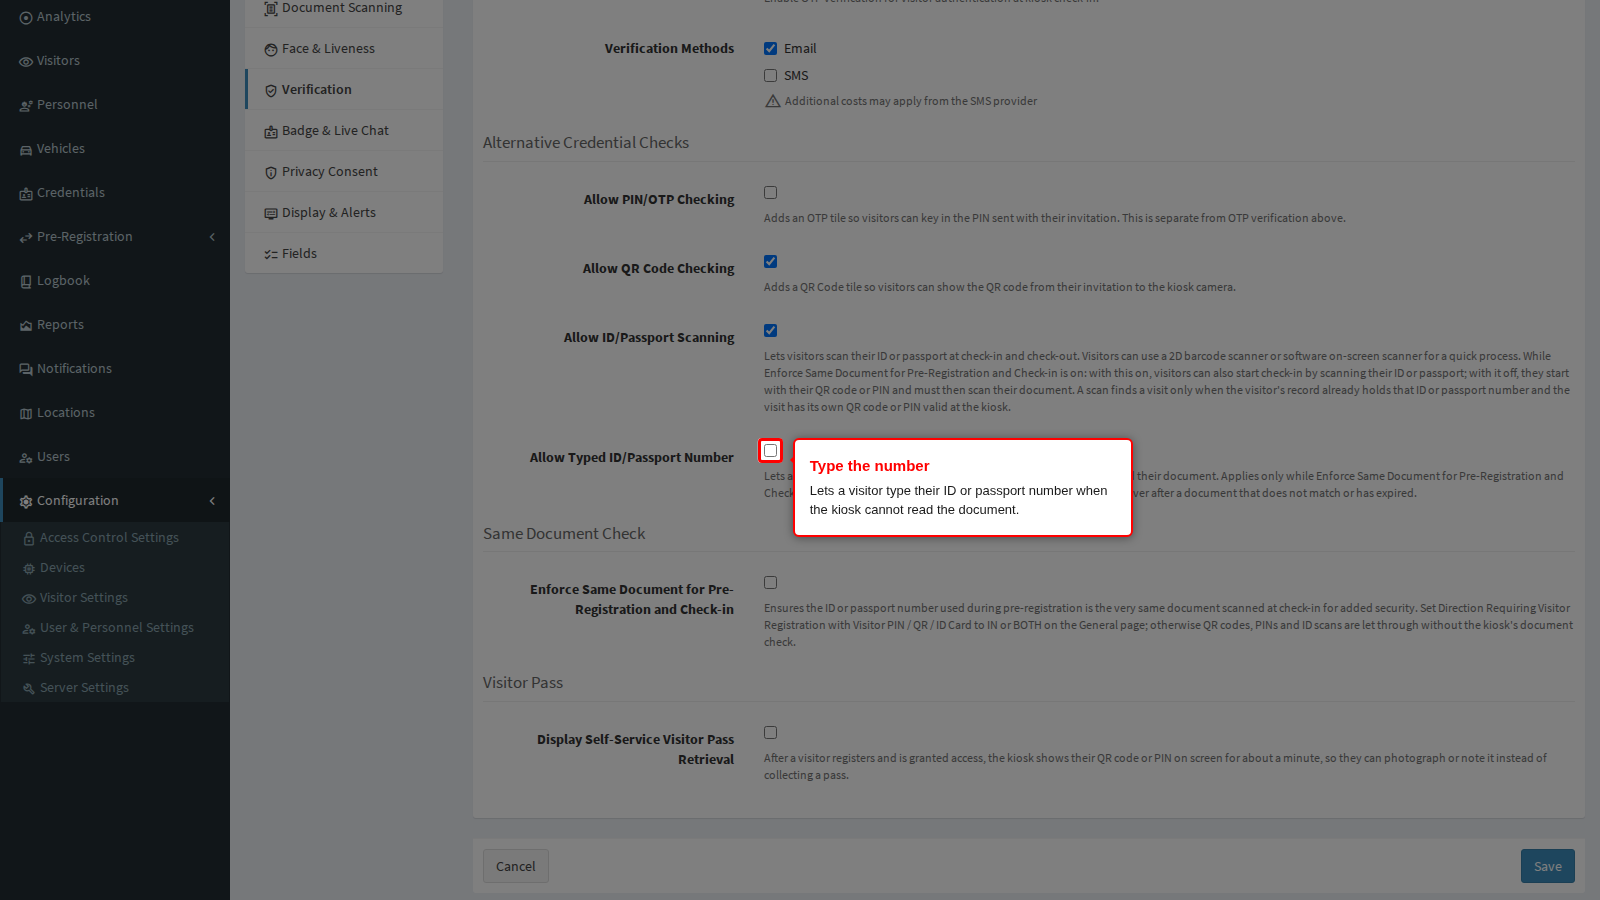
Allow Typed ID/Passport Number
Off by default. With it on, a visitor whose document the kiosk cannot read may type their ID or passport number instead, and the kiosk compares the typed number with the visit just as it would a scan. It applies only while Enforce Same Document for Pre-Registration and Check-in is on, and only after the visitor has already given their QR code or PIN, so they need both the code and the number. It is never offered to a visitor who starts with a document scan, and never after a document that does not match the visit or has expired.
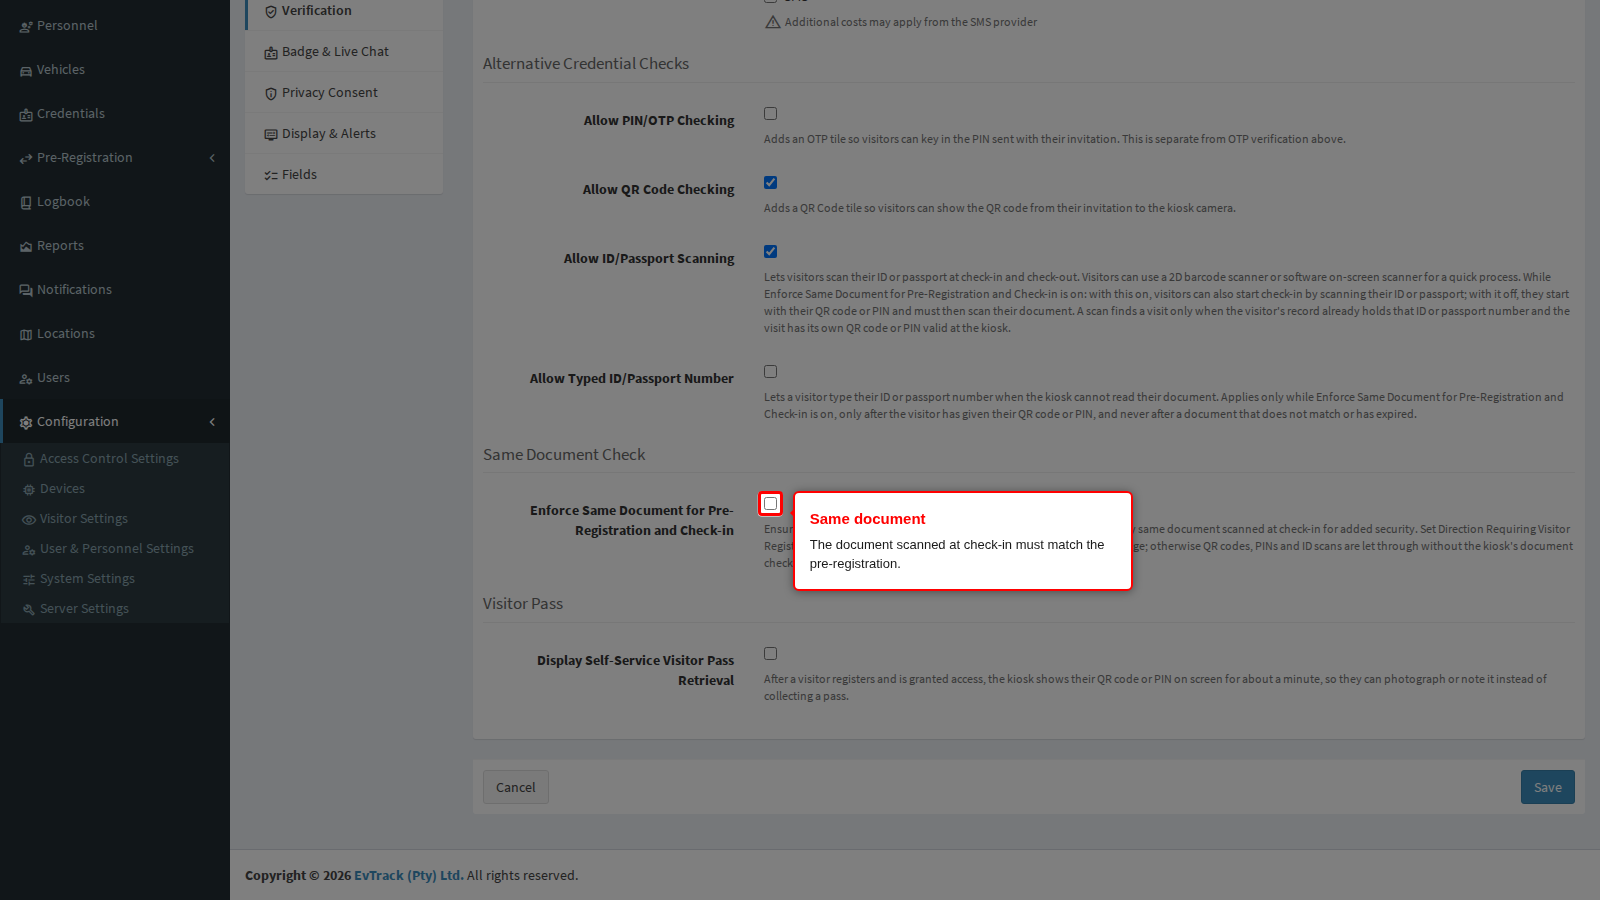
Enforce Same Document for Pre-Registration and Check-in
Off by default. It requires the visitor to arrive with the same document they pre-registered with. The ID number question is read-only, the manual route is removed, and a scanned document whose number does not match the pre-registration is refused with a message showing the expected and scanned numbers, partly masked. It is meant for visitors who pre-registered.
Set Direction Requiring Visitor Registration with Visitor PIN / QR / ID Card to IN or BOTH on the General panel. Otherwise the server lets QR codes, PINs and ID scans through without the kiosk’s document check.
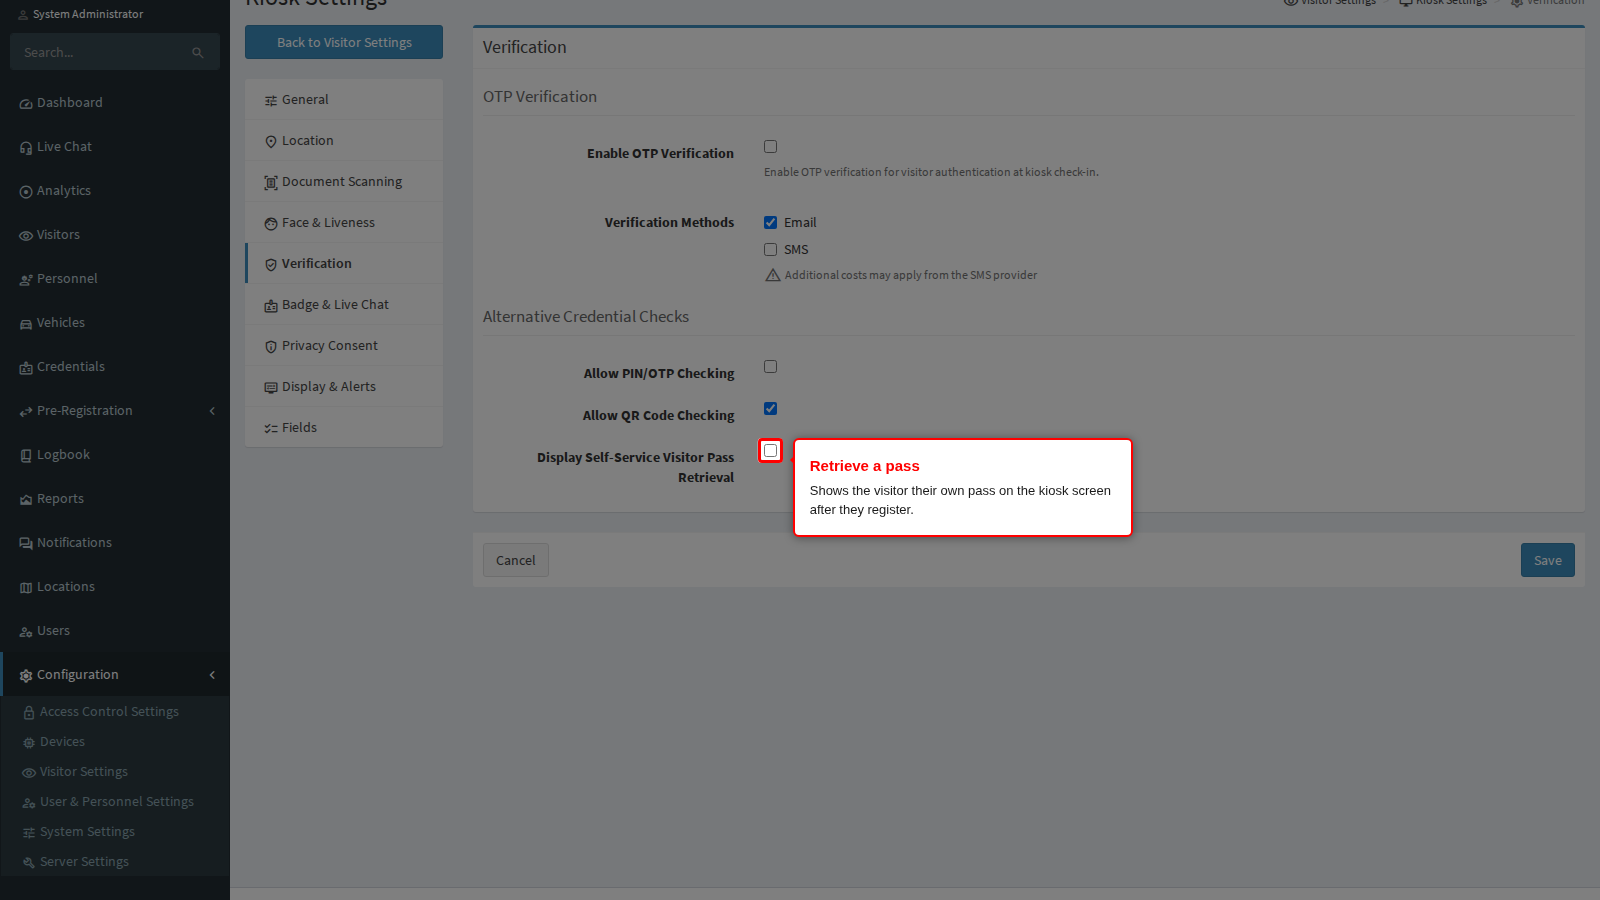
Display Self-Service Visitor Pass Retrieval
Off by default. With it on, once a visitor has registered and been granted access, the kiosk shows their pass on screen instead of returning at once to the welcome screen. The pass is a QR code, or a one-time PIN when the visit uses one. The screen tells the visitor to photograph the QR code with their own phone, or to note the PIN and key it in at the turnstile, and it closes itself after a countdown of about a minute. It saves reception handing over a pass. Leave it off where a pass must always be handed over by a person.
Save
Click Save at the bottom of the panel. Paired kiosks pick the change up within five minutes, or at once when the app restarts.