EvTrack shows your logo on visitor-facing pages, badges, the kiosk, the visit pass permit, emails and the mobile app. Each place draws the image at a different size, so one file rarely suits them all. This page lists every image, the size to supply and where to upload it.
It has two parts for two readers:
- Part 1: What to prepare is for the person who makes the files, usually someone in marketing or IT. It is a checklist you can forward as it stands.
- Part 2: Where each image goes is for the EvTrack administrator who uploads them.
The examples use the fictional company EvTrack Labs.
Part 1: What to prepare
The images
Where EvTrack shows an image at a fixed size, the recommended size is about twice that, so it remains sharp on high-resolution screens.
| Image | Where it shows | Format | Recommended size | Background | Limit |
|---|---|---|---|---|---|
| System logo | Public registration, approval and pre-registration pages, emails, and the visit pass permit when it has no logo of its own | PNG or JPEG | 600 px wide, landscape | Transparent | 512 KB |
| Badge logo | Printed badges for personnel, users and visitors | PNG or JPEG | About 1000 px wide, landscape between 2:1 and 4:1 (for example 1000 x 400) | Transparent | 512 KB |
| Kiosk logo | The welcome screen of every EvTrack FrontDesk kiosk | PNG or JPEG | 1200 x 300 px | Transparent, readable on dark and light | 512 KB |
| Visit Pass Permit logo | The top of the printable visit pass permit | PNG or JPEG | 600 px wide, any height (for example 600 x 300) | Transparent or white | 512 KB |
| Mobile App banner | The home screen of the EvTrack mobile app | PNG or JPEG (JPEG for a photo) | At least 600 x 600 px, about 1200 px wide | Any | 512 KB |
| Location registration logo (optional) | The public registration page of one location | PNG or JPEG | 600 px wide | Transparent | 512 KB |
| Location email logo (optional) | Emails about visits at one location | PNG or JPEG | 600 px wide | White or transparent | 512 KB |
| Location kiosk logo (optional) | The kiosks of one location | PNG or JPEG | 1200 x 300 px | Transparent | 512 KB |
| Custom badge template (optional) | The whole badge layout | SVG | Start from the downloadable starter templates | Any | 2 MB |
The three location images are needed only when one location must look different from the rest of the system. Without them, a location uses the global image.
If your EvTrack server is installed on your own premises, two more images apply. See OnSite servers only.
General rules
- PNG or JPEG only. SVG, GIF, WebP and other formats are refused. The one exception is the custom badge template, which must be SVG.
- 512 KB or less for every logo and banner. A logo of the sizes above is usually far smaller.
- Use PNG for logos. PNG keeps a transparent background and sharp edges. Use JPEG for a photo, such as a photographic Mobile App banner, where it gives a much smaller file.
- Use sRGB colour. Print-ready CMYK files show the wrong colours on screen.
- Crop tightly. Leave clear space of about 10% around the mark and no more. Extra empty space makes the logo look small, because each place fits the whole image into its space.
- Supply a full-colour version for light backgrounds. Supply a white version as well only if you use a dark background: the kiosk’s Dark colour scheme, or the page header skin of an OnSite server.
- Images are stored exactly as you upload them. EvTrack does not resize, crop or convert them, so what you send is what visitors see.
Sending the files
Name each file so anyone can tell what it is and which version it is:
[Company]_[item]_[version]_[width]x[height].[ext]
For example EvTrackLabs_kiosk-logo_v1_1200x300.png or EvTrackLabs_mobile-banner_v2_1200x1200.jpg.
Put all the files in one ZIP file and send it to your EvTrack contact, or upload the files yourself as described in Part 2. If you want to approve the result before it goes live, ask for screenshots from a test system. This is optional.
Part 2: Where each image goes
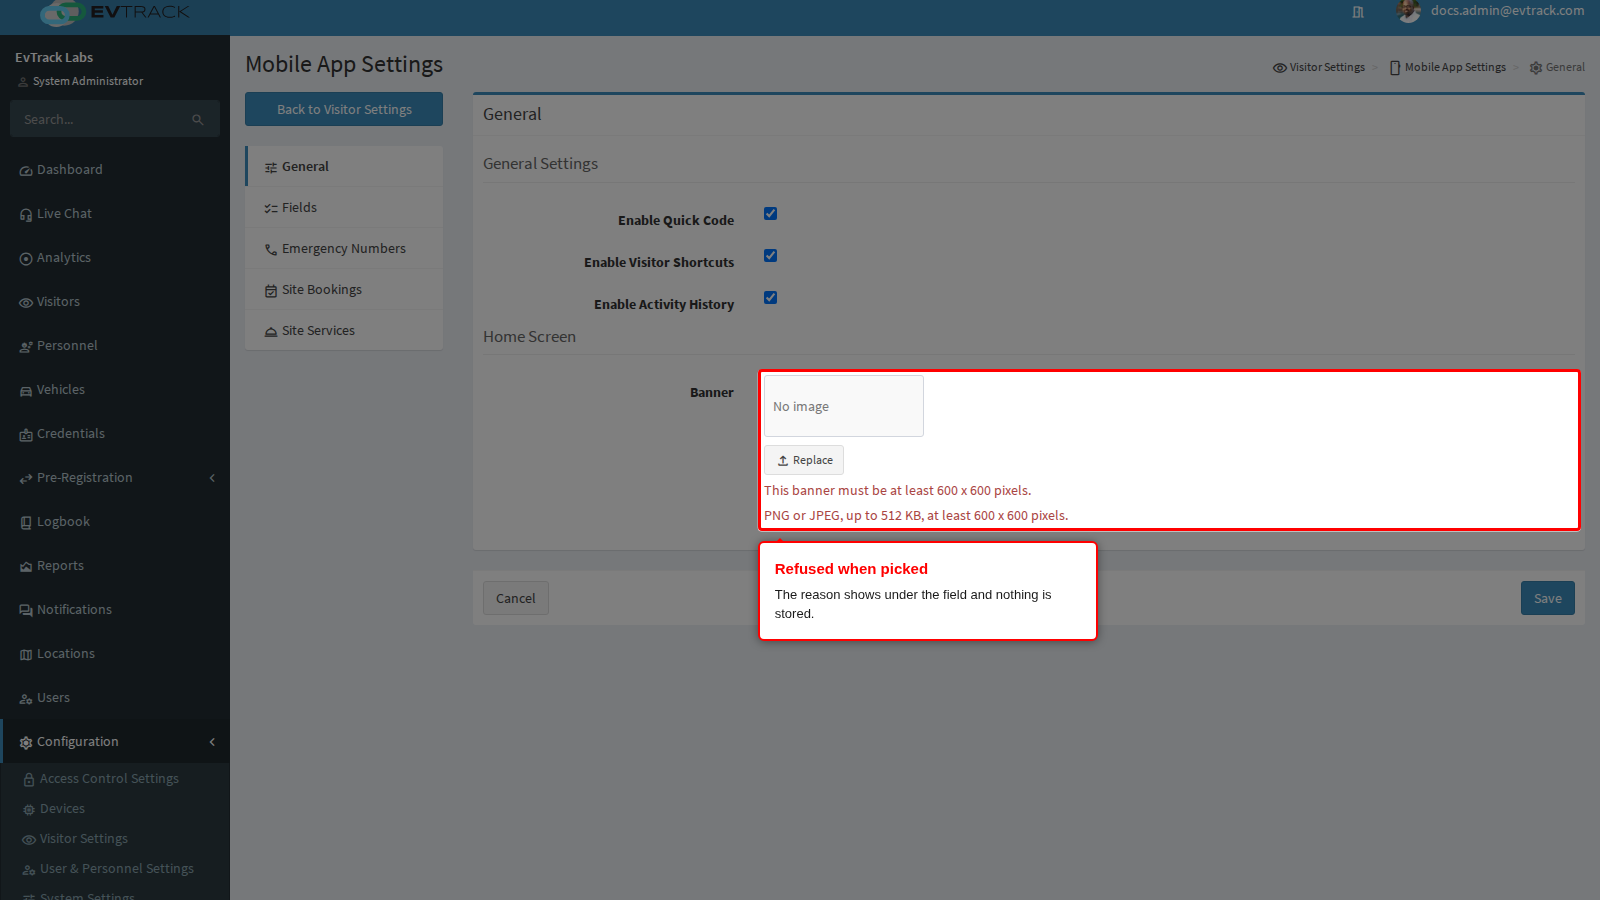
Every uploader works the same way. It shows the stored image with a Replace button and, where the image can be removed, a Remove button. Click Replace and pick a file. A file that is the wrong format, too large or too small is refused at once, the reason shows under the field and the stored image is kept. A file that passes is previewed, and nothing changes until you click Save on the page.
Images that were uploaded before these rules existed keep working. The rules apply only when an image is replaced.
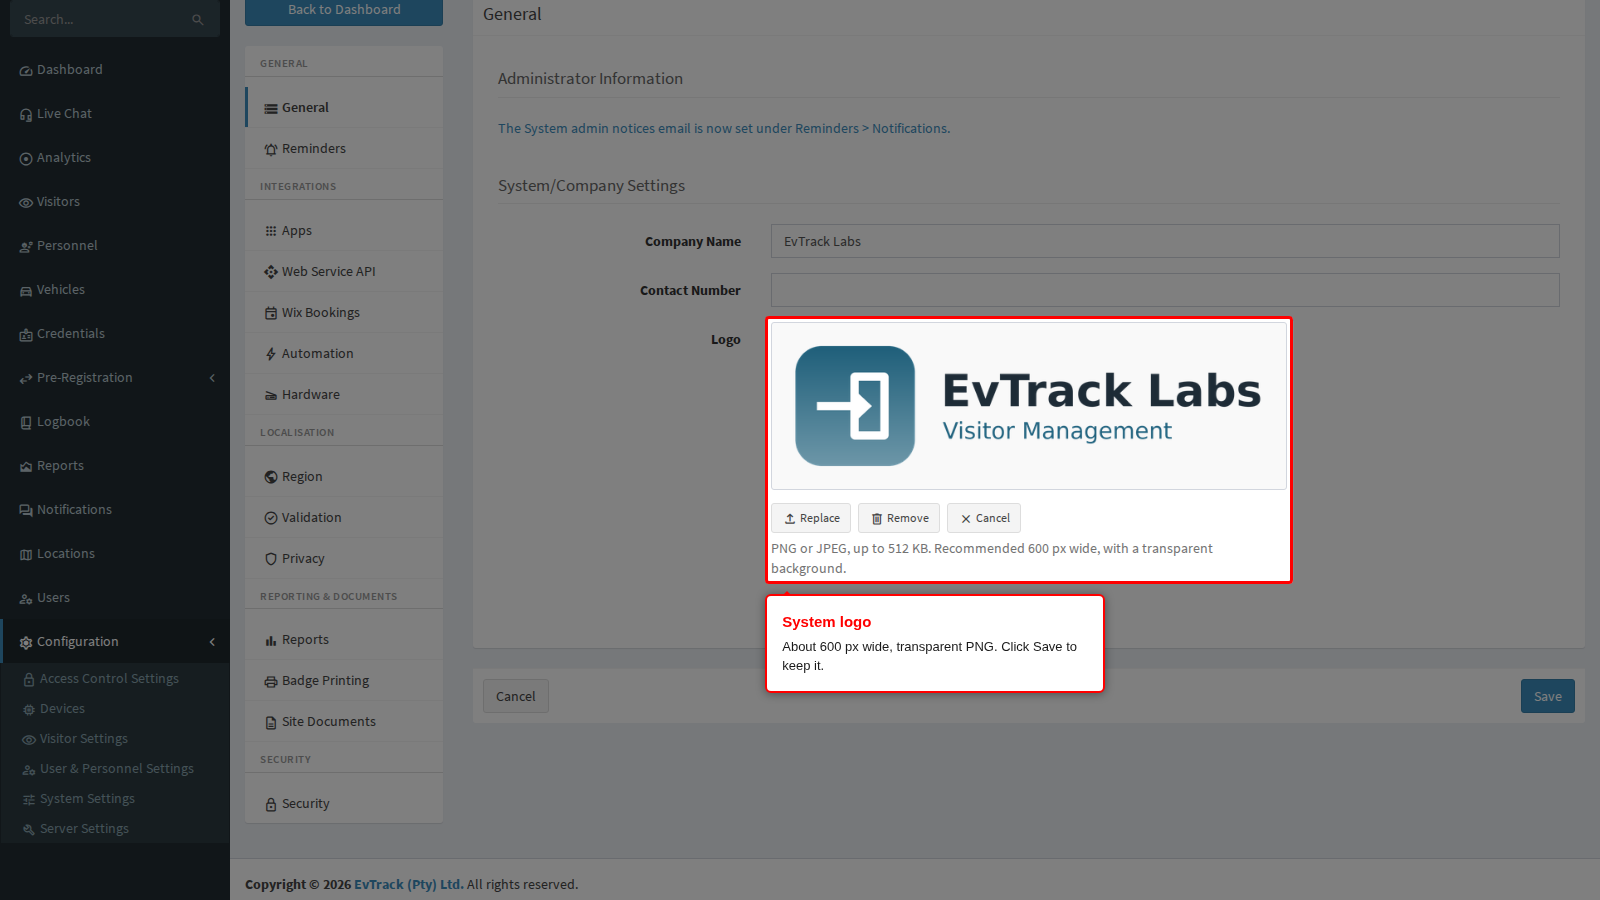
System logo
Open Configuration, click System Settings and use the General page. Details are in System Settings.
The System logo is shown at up to 300 px wide on the public registration, approval and pre-registration pages, and is the logo in emails and on the visit pass permit unless a more specific logo is set. In an email it is always drawn 300 px wide, so a 600 px logo remains sharp and a smaller one is enlarged. If you remove it, the standard EvTrack logo comes back.
Badge logo
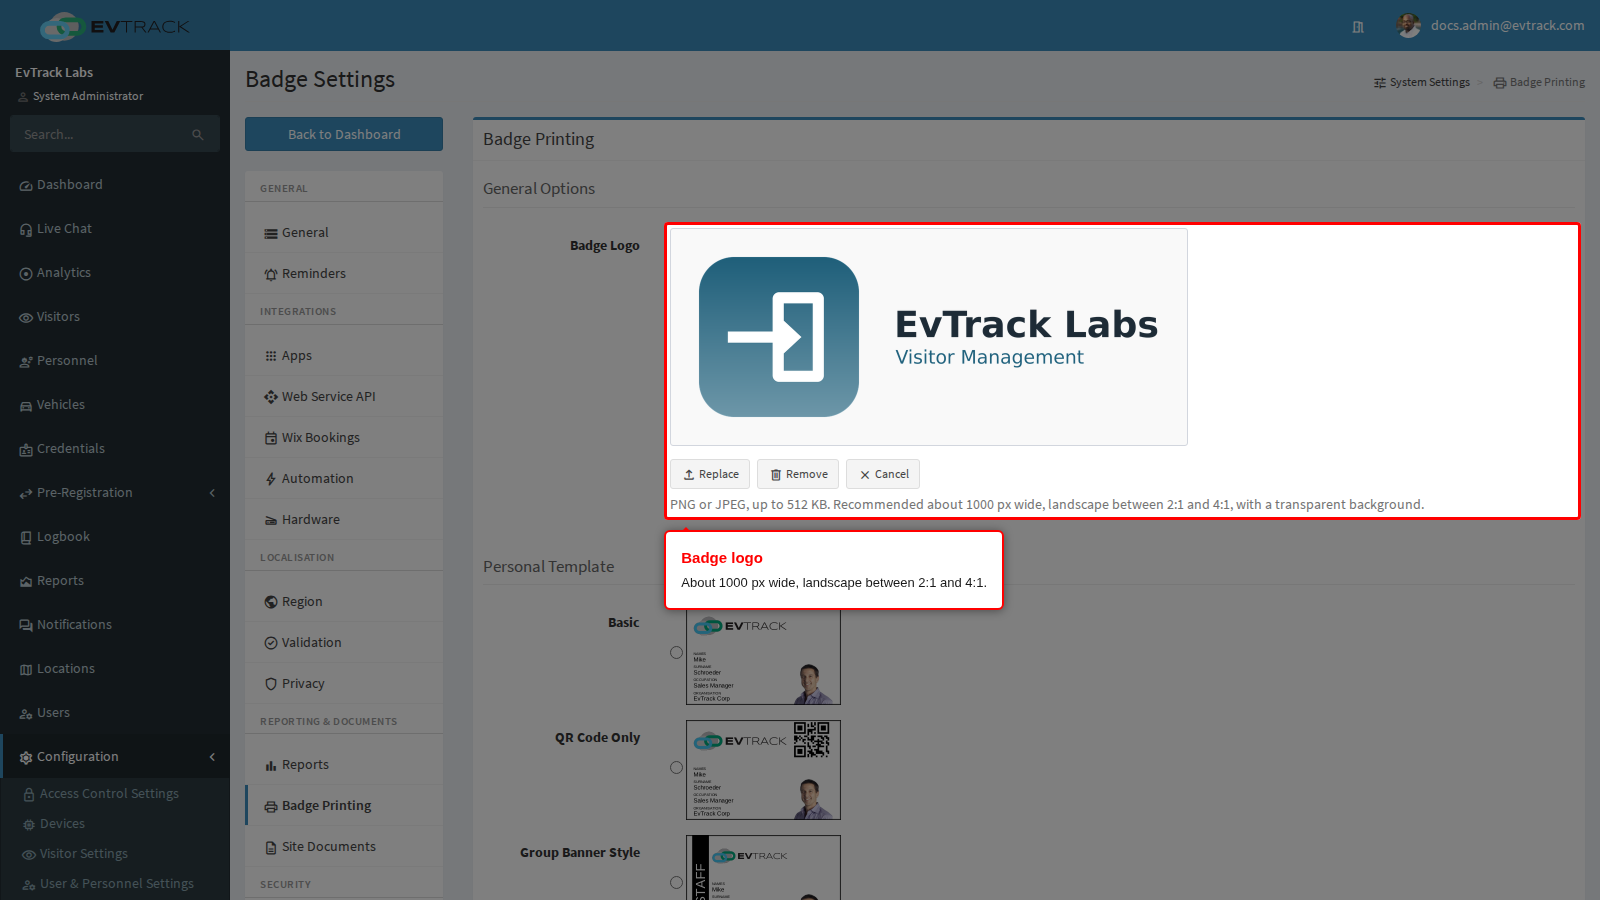
Open Configuration > System Settings > Badge Printing. Details are in Badge Printing.
Badge layouts have logo areas of different shapes, from almost square to very wide. The logo is scaled to fit each area and is never cropped, so a landscape logo between 2:1 and 4:1 suits every layout. Without a badge logo, badges use the built-in default logo, not the System logo.
Custom badge templates
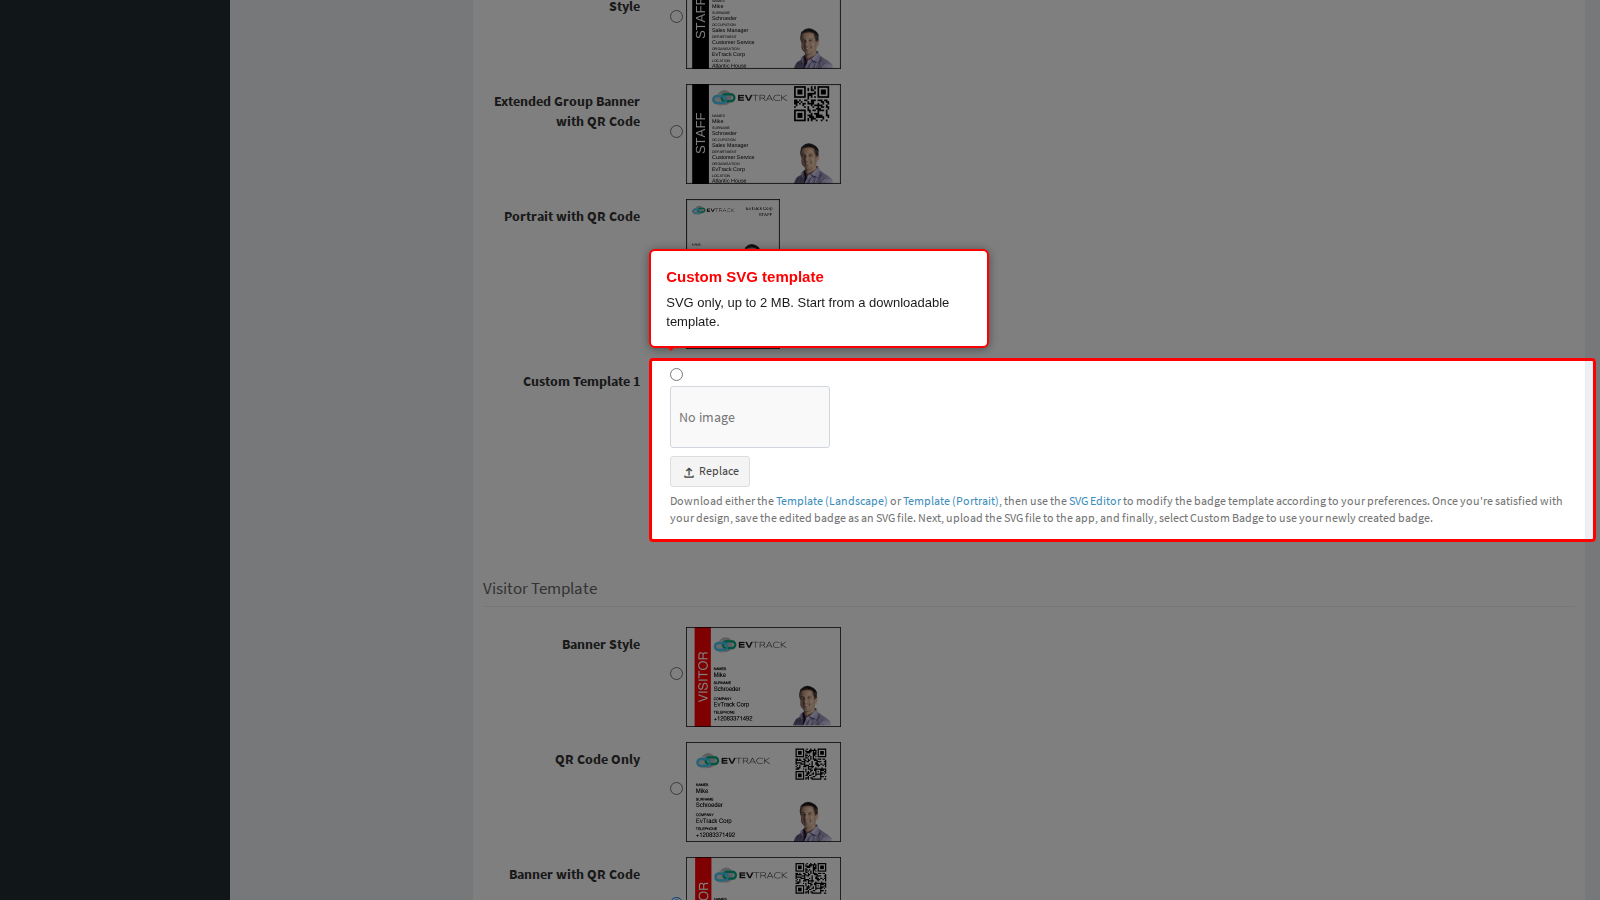
On the same Badge Printing page, each custom SVG template has its own uploader. Templates are SVG only, up to 2 MB. A badge is 648 x 1016 units in portrait and 1016 x 648 in landscape. Download a starter template from the links under the uploader and edit that, rather than starting from an empty file. Details are in Custom SVG Badge Templates.
Kiosk logo
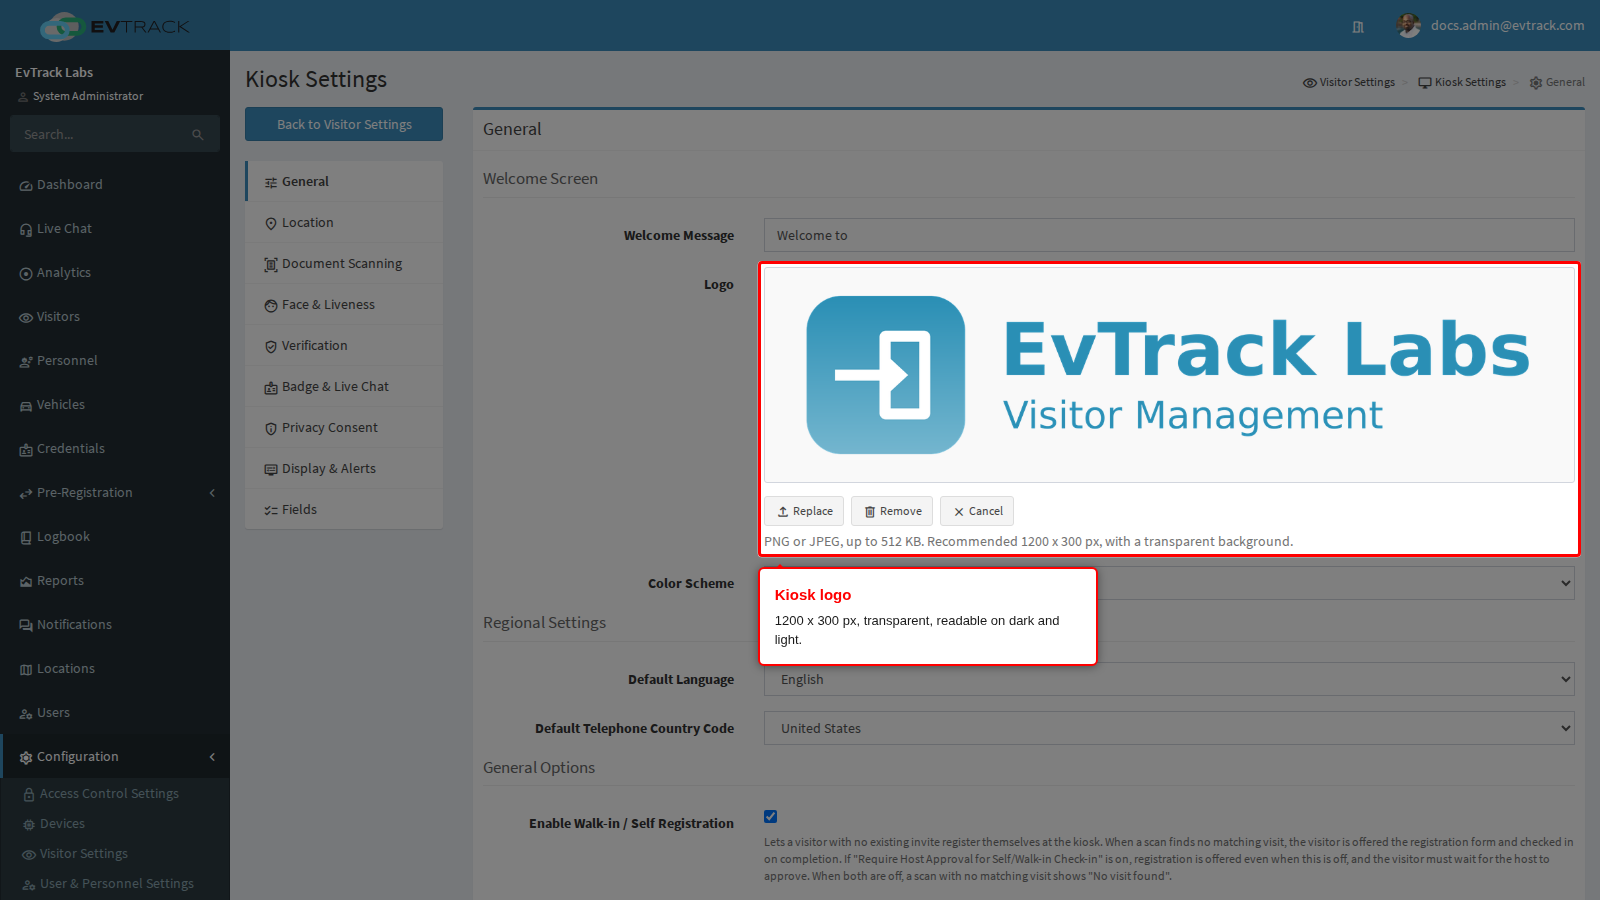
Open Configuration > Visitor Settings, click the Kiosk tile and choose General. Details are in Welcome Screen and Branding.
On a landscape tablet the logo area of the welcome screen is roughly 1050 px wide on a 2560 x 1600 screen, and the logo is scaled to fit it. A 1200 x 300 image fills the width without blurring. Use a transparent background and colours that read on both the Dark (default) and Light colour schemes. One logo serves every kiosk whose location has no kiosk logo of its own.
A kiosk fetches the logo again only when the file size changes. If you replace the logo with a file of the same size, or within a couple of bytes of it, a paired kiosk can keep showing the old one until you clear the app’s data, see Clear App Data. A new design almost always differs in size by more than that, so this matters mainly when the same or an almost identical file is uploaded again.
Visit Pass Permit logo
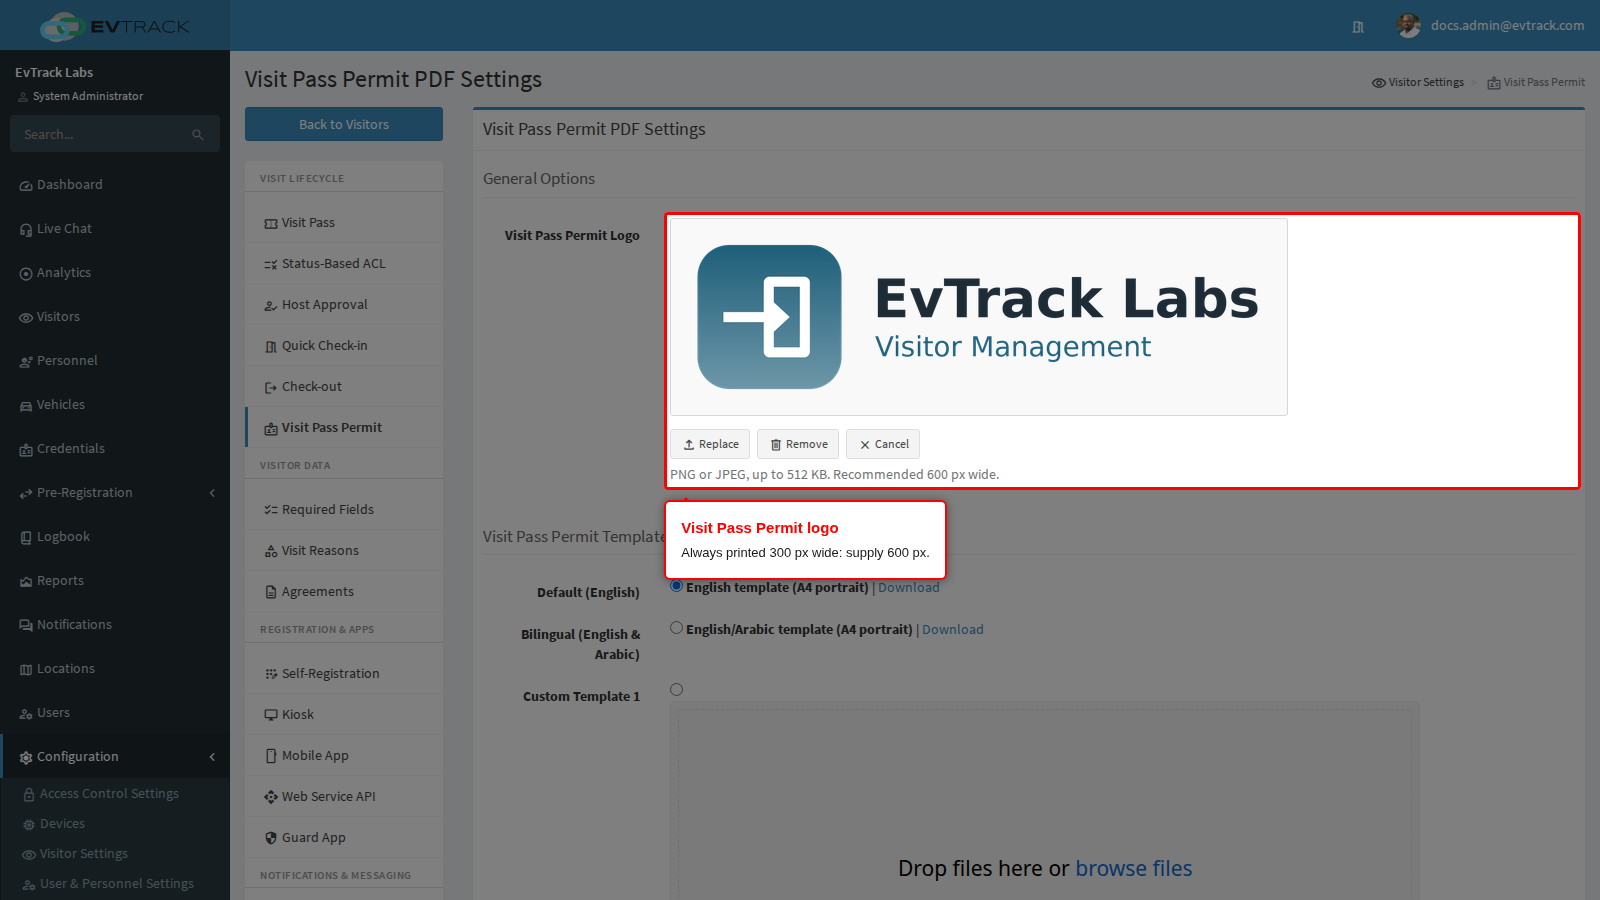
Open Configuration > Visitor Settings and click the Visit Pass Permit tile. Details are in Visit Pass Permit.
The permit always draws its logo 300 px wide, whatever size you upload, and a small image is enlarged until it is blurred. Supply 600 px wide. Without a permit logo, the permit uses the System logo.
Mobile App banner
Open Visitors, click Settings, then Mobile App in the Registration & Apps group, and use General. Details are in Mobile App.
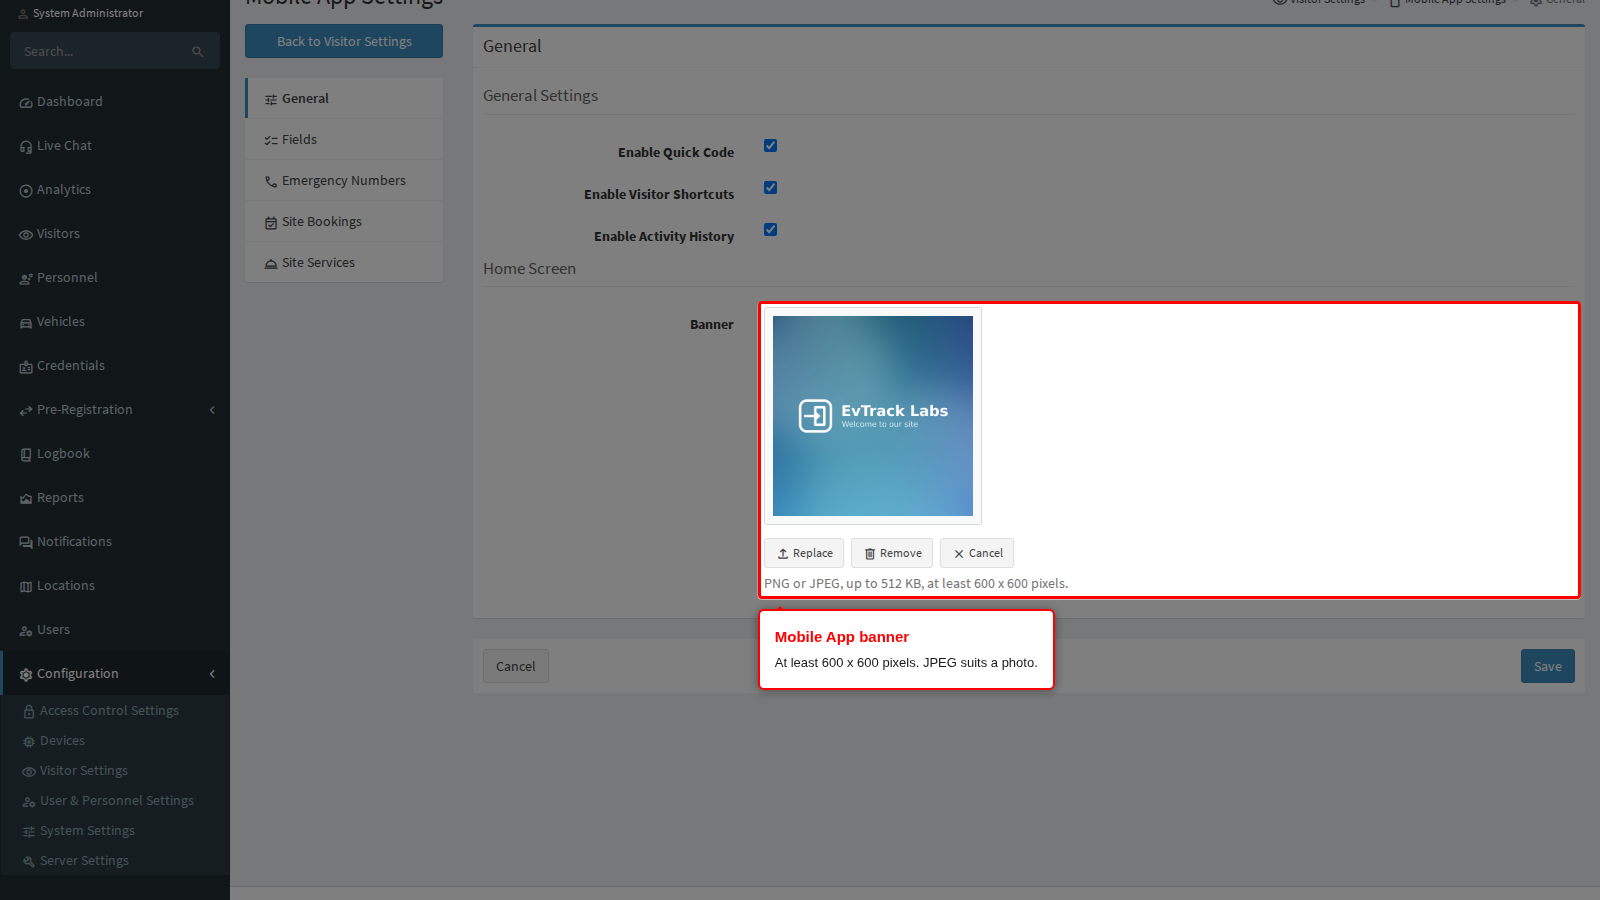
The banner is the image across the top of the app’s home screen. It must be at least 600 x 600 pixels, and about 1200 px wide is recommended. A photographic banner is much smaller as a JPEG. Without a banner, the app shows its standard image.
A banner smaller than 600 x 600 pixels is refused when you pick it, and the stored banner is kept.
Location images
A location can replace three of the global images for its own visitors. Select Locations in the sidebar, open the location and use its tab. Each image has a Use global tick: untick it to show the uploader, pick the file and click Save. Tick it again and save to go back to the global image.
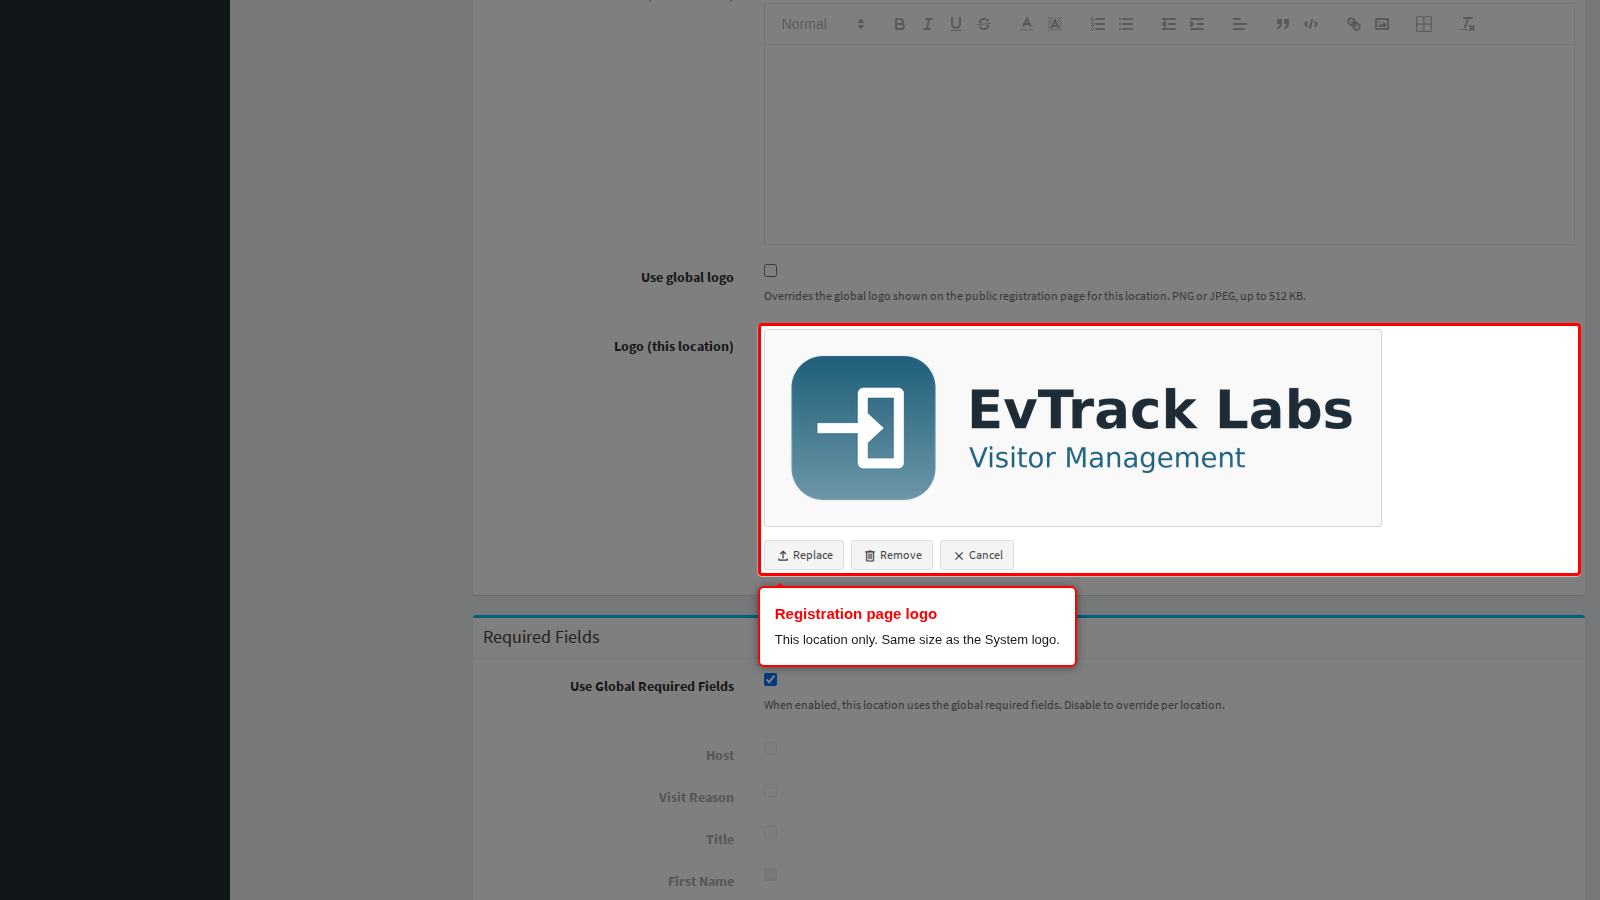
Registration page logo. On the Self-Registration tab, untick Use global logo. Use the same size as the System logo, 600 px wide. Details are in Self-Registration.
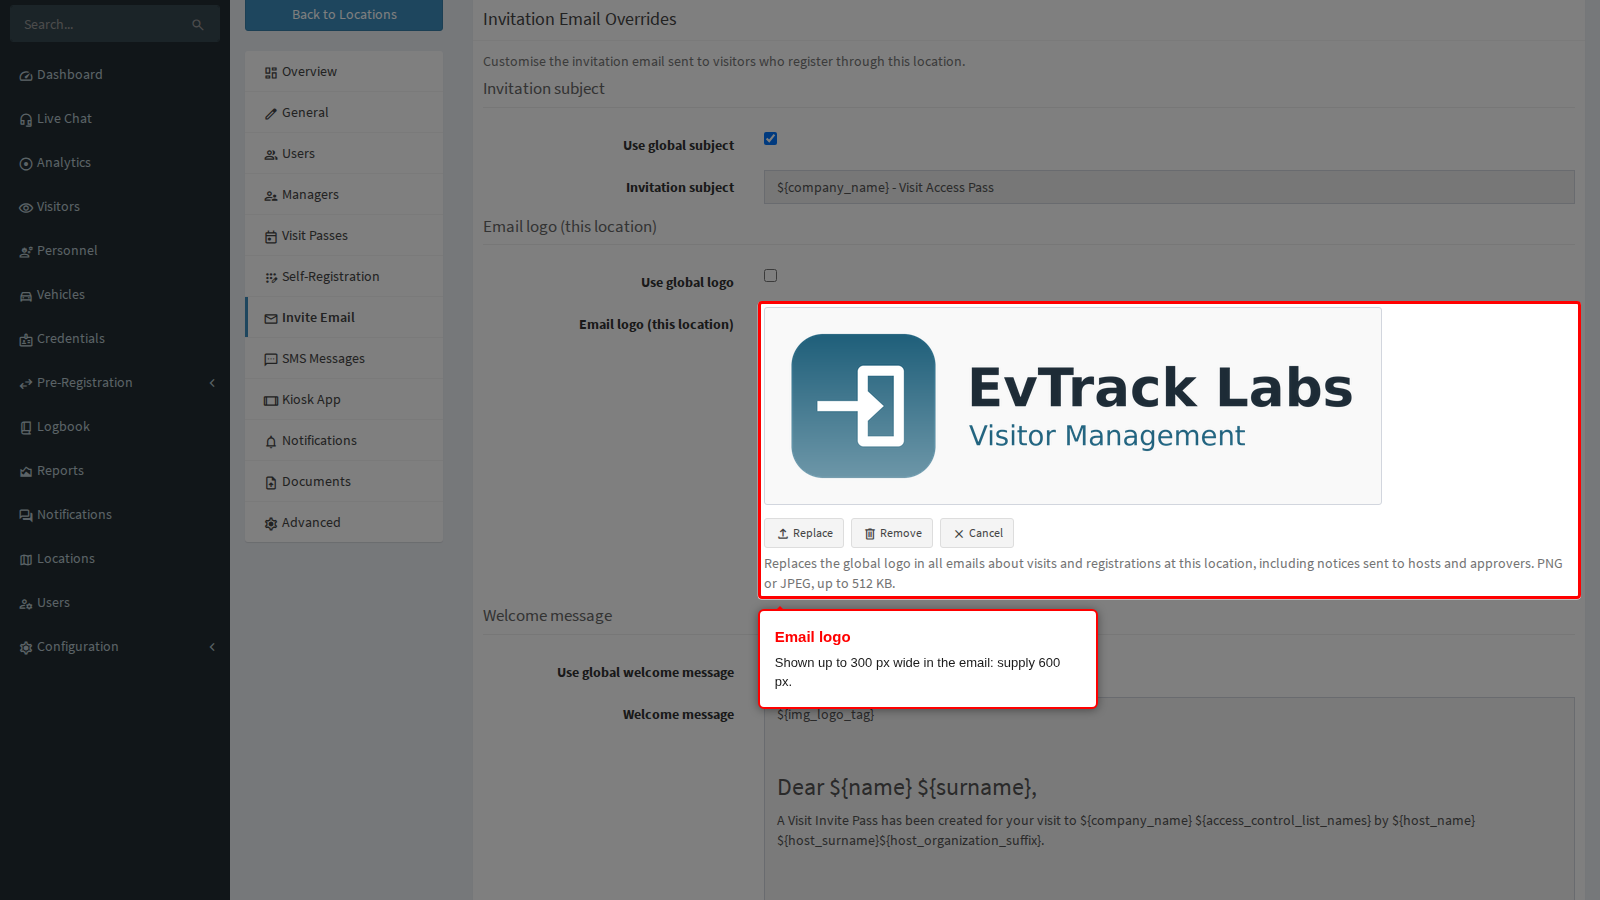
Email logo. On the Invite Email tab, untick Use global logo. Supply 600 px wide: emails always show it 300 px wide, so a smaller image is enlarged. The email card is white, so use a white or transparent background. Details are in Invite Email.
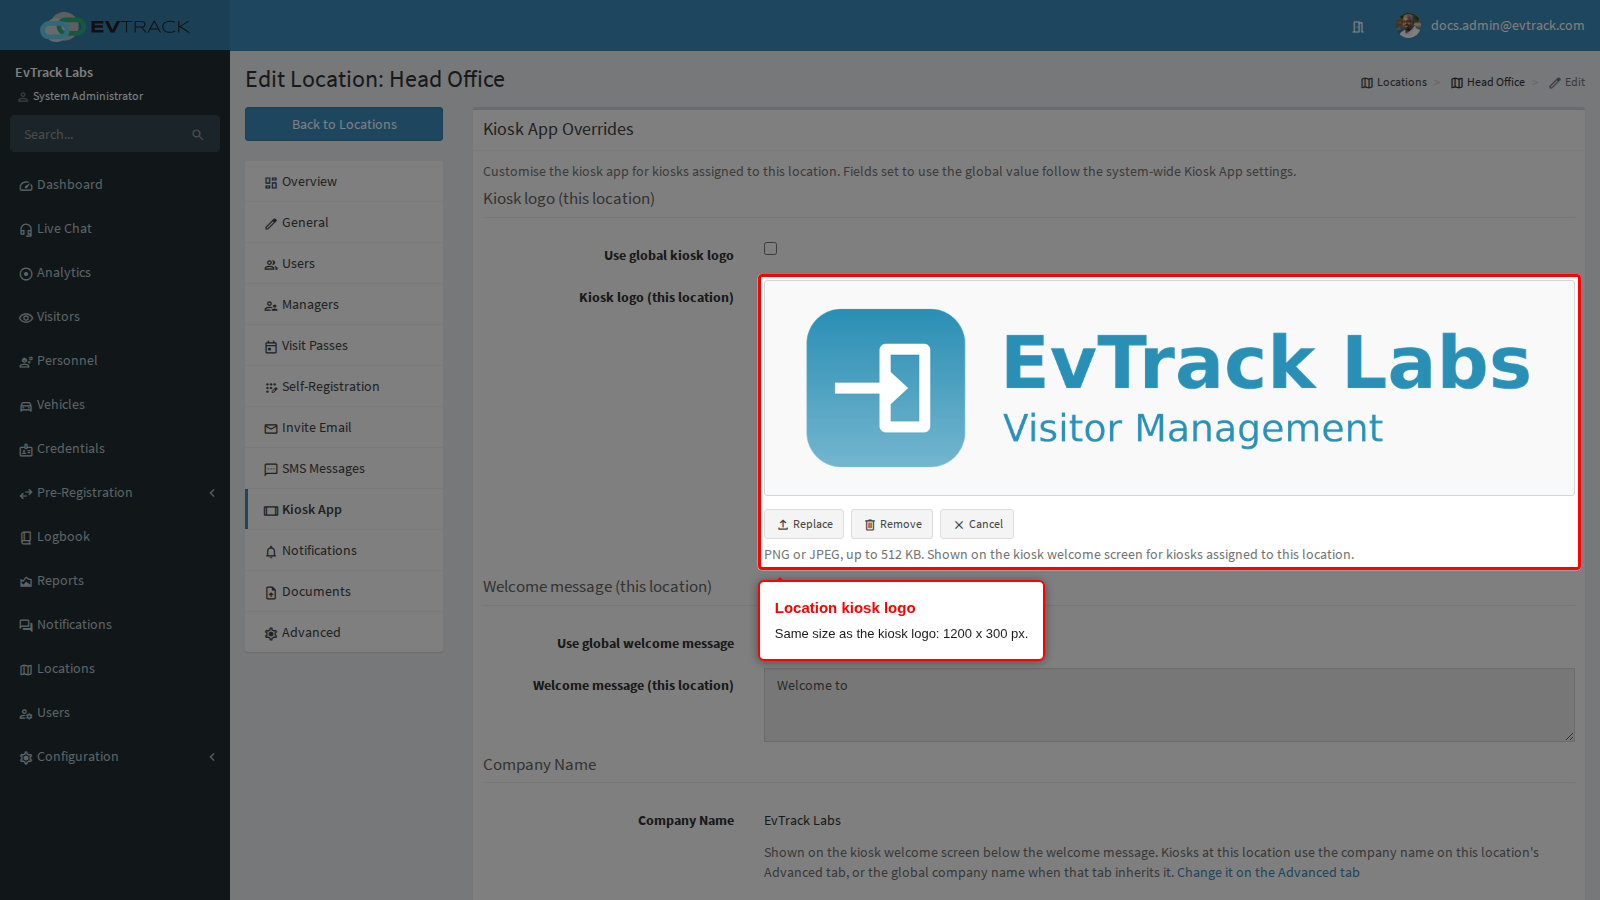
Kiosk logo. On the Kiosk App tab, untick Use global kiosk logo. Use the same size as the kiosk logo, 1200 x 300 px. The kiosk refetch rule above applies here too. Details are in Kiosk App.
OnSite servers only
On EvTrack Cloud the page header and the login page show the EvTrack logo, and the browser tab shows the EvTrack icon. On an OnSite server, installed on your own premises, you can replace both. They are files on the server, set in the server configuration with evtrack.settings.app.logoLarge (the header logo) and evtrack.settings.app.favicon (the browser icon) rather than uploaded in the application, so SVG is fine here.
| Image | Where it shows | Format | Recommended size |
|---|---|---|---|
| Header logo | The page header, and the login page | SVG preferred, or PNG | 520 x 100 px |
| Browser icon | The browser tab | PNG, or a multi-size .ico | 64 x 64 px, square |
One header logo file serves both the header and the login page. The header shows it in a space of about 180 x 30 px and the login page at about 260 px wide. How to install the files is in Branding and Theme.